Showing posts with label Crafts. Show all posts

Wednesday, October 28, 2015

Bathrooms Can Be Cute Too!

~*~*~*~*~*~*~*~

The bathroom in our apartment is rather barebones in terms of built-in organization as well as space in which to put extra shelves or other storage items. As such, there was really no good place to put extra toilet paper rolls within easy reach. While that is fine as long as one maintains awareness of imminent toilet paper shortages, it is somewhat less than convenient, especially if there are guests or people who aren't used to our particular bathroom arrangement.

In order to remedy that, I decided it would be pretty easy to just make a toilet paper holder that hangs below the actual toilet paper dispenser, and perhaps also serve a bit of a decorative purpose for brightening up the bathroom.  And... voila!


It was simple to make, consisting basically of two identical rectangles of fabric sewn together into one very large tube with one open end. With the tube turned the right side out, I then folded the open end of the tube down a bit to create a neat edge for closing it, and top-stitched all the way around the now-rectangle. I actually used four pieces of fabric for better stiffness, but that could also be replaced with interfacing on just two pieces of fabric.

This very large rectangle I then folded in half, and stitched a line down the middle of it to divide the space for two rolls of toilet paper.


I then sandwiched two lengths of grosgrain ribbon folded in half between the two sides of the top area of the folded rectangle, then closed off the top with a couple rows of stitching, also securing the ribbons to the rectangle. Those are the ties for attaching the whole thing to the toilet paper dispenser.


It was super quick, and increases the convenience of the bathroom as well as being cute and polka-dotty!

~*~*~*~*~*~*~*~

Wednesday, October 21, 2015

A+ Mittens

~*~*~*~*~*~*~*~

I am always knitting something, usually several somethings at the same time. However, with the approach of winter and its biting cold leering on the edge of my consciousness, I decided that I absolutely must finish this pair of mittens for A+. I lost one of his nice leather gloves last winter, and as a result, he has no good cold-weather hand gear!

I was determined to make him the best mittens I possibly could, even though I had never knit mittens before. Many of the patterns I found were unsatisfactory due to either sizing issues or a displeasing shape. I am personally not at big fan of mittens that turn out pointy at the top, and really wanted to find a pattern that would give a more flat or round finish.

After much searching through many knitting books and the internet, I finally came upon this wonderful "Easy Warm Mittens" pattern from HJS Studio. The shape is exactly what I was looking for, and the "pattern" is in fact more of a lesson on how to design a custom mitten pattern, which is great for sizing!

Once I started, each hand took me about a day of knitting on and off to complete.  Here's one hand one, with the other in progress:


And now both mittens are done!


I stuck to a simple stockinette stitch for my mittens, and single color, so nothing too complicated to deal with in the increases and decreases. If I find some suitable yarn, I might decide to knit some more pairs for myself or friends/family in more interesting patterns!

~*~*~*~*~*~*~*~

Wednesday, October 14, 2015

Whipping Up a Quick Bow

~*~*~*~*~*~*~*~

I recently had a photo session for which I needed a neckbow, similar to what one sees in some Japanese school uniforms, or in nanchatte uniform fashions. It was on such short notice that I couldn't really order one in from an online shop, nor did I really wish to pay for the shipping.  Besides, bows are one of the easiest items to make with some basic sewing and patterning knowledge.

I made mine by referencing an existing detachable bow from one of my JSKs, just to make sure I had the right structural basics for the shape of bow that I wanted. Specifically, I wanted the top half of my bow to be looped, while the bottom half or "tails" should have only a single layer.

After some quick midnight cutting and sewing, I made a rather presentable bow. For easy wearing, I just whip-stitched it by hand to a length of white grosgrain ribbon that I could then tie around my neck.


This was so quick and easy to whip up that I think I might start making more bows! Given more time, I would probably have made a proper neckstrap that buttoned in the back, and could even be adjustable, so that's something to work on for any future neckbows~

~*~*~*~*~*~*~*~

Wednesday, October 7, 2015

Itty Bitty Teeny Weeny... Sweater

~*~*~*~*~*~*~*~

A colleague of A+ recently had a baby daughter, and I find it really fun to knit tiny people clothes, so I was really excited to make something for them. I had a stash of some variegated baby yarn along with some extra Caron Simply Soft in pink, so I decided it would be fun to make a raglan cardigan. I knit this following the Daisy pattern from Knitty, which was very straightforward and easy to follow, assuming you're familiar with basic stockinette and increases/decreases.

I think it turned out pretty cutely, although I sort of wish I had used a more structural yarn for the neckline. At least now I know for the next time I knit a sweater-type garment involving Simply Soft.


Now I just wish there were more babies around that I can knit little hats and booties and mittens for! I would especially like to make THESE. Baby Miis!

~*~*~*~*~*~*~*~

Wednesday, September 16, 2015

The Perfect Color for a Best Friend

~*~*~*~*~*~*~*~

I have very strong color associations with people, particularly those that I am close to and know very well. And I found some beautiful bamboo yarn that was just the perfect color for my best friend. She gave me the most wonderful painted egg (using traditional Ukrainian techniques) in the form of a Munna for my birthday, so I wanted to make her something just as nice for hers.

I decided to go with a light spring/summer scarf, because the bamboo yarn was so delicate and lightweight I couldn't see it working for a heavier item. I just made up the pattern as I went, doing basically a feather fan lace pattern with seed stitch edging all around.


I'm absolutely in love with how the knit feels, and will definitely think of more things to knit using bamboo yarns in the future.

The feather fan lace turned out better than I expected considering how improvised it was, and it gave a beautiful texture both on the "right" and the "wrong" sides of the scarf.


I most often knit winter items because I adore chunky woolly yarns, but this project has definitely convinced me to think about lighter knitting projects for warmer weather!

The best part of it all was that when I gave it to her and told her that it was "her" color, she told me that it was the exact color she always chose in the color picker when she was young and just doodling around in Paint. So it in fact is exactly her color!

~*~*~*~*~*~*~*~

Sunday, September 21, 2014

Project 365 // 001~007

I've decided to begin a Project 365 in order to challenge myself to better document the little things in my life so I can remember and enjoy them later on. As such, I will start uploading a week's worth of daily photos each Sunday, and it'll serve as a nice little weekly wrap-up for keeping up with what's going on in my life!

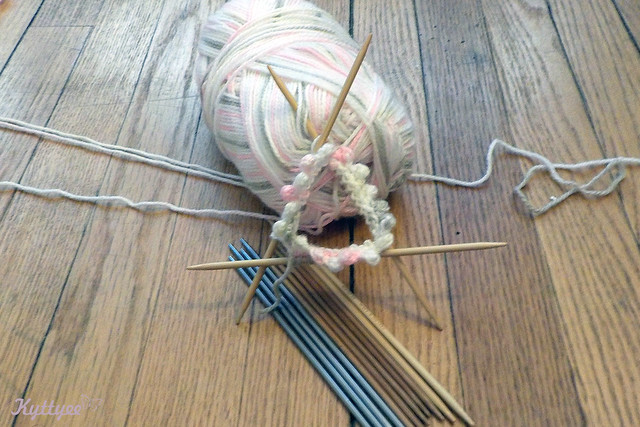
001 / 365: It got cold very quickly recently, and my wrists have been cold, so I decided to make up my own wristwarmer knitting pattern. It took several attempts to settle on something I actually liked, but there's finally progress!


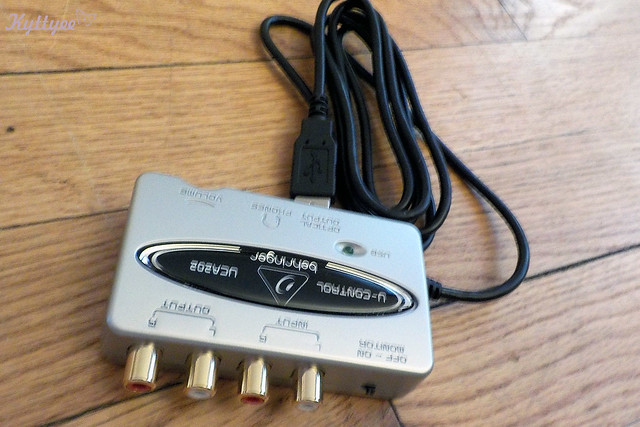
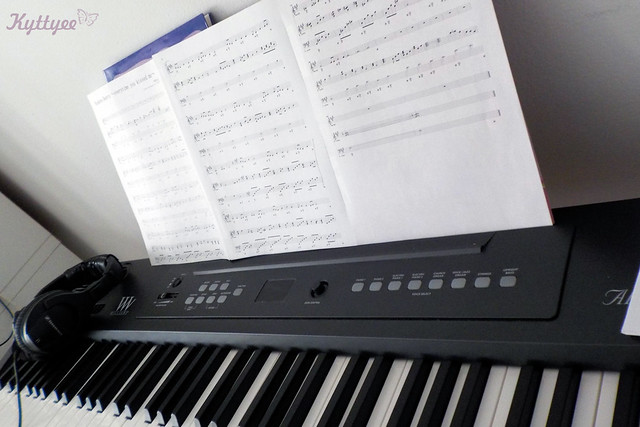
002 / 365: I've been fiddling around with a good way to record things I play on my electronic piano for a while now, with no truly satisfactory results. I finally caved and bought an external USB soundcard with stereo input, and I cannot possibly be more pleased with the results! So look out, there will be more piano adventures in the near future!!


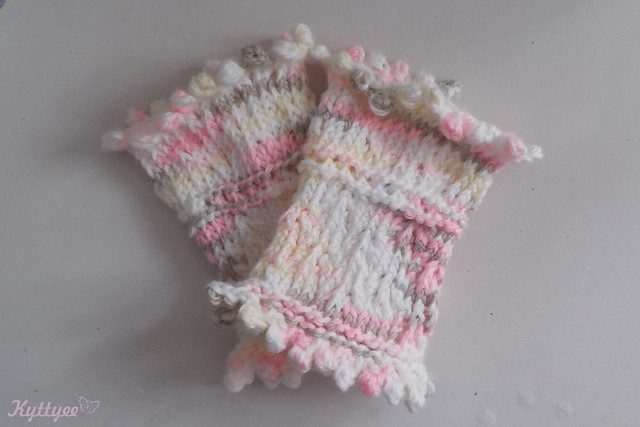
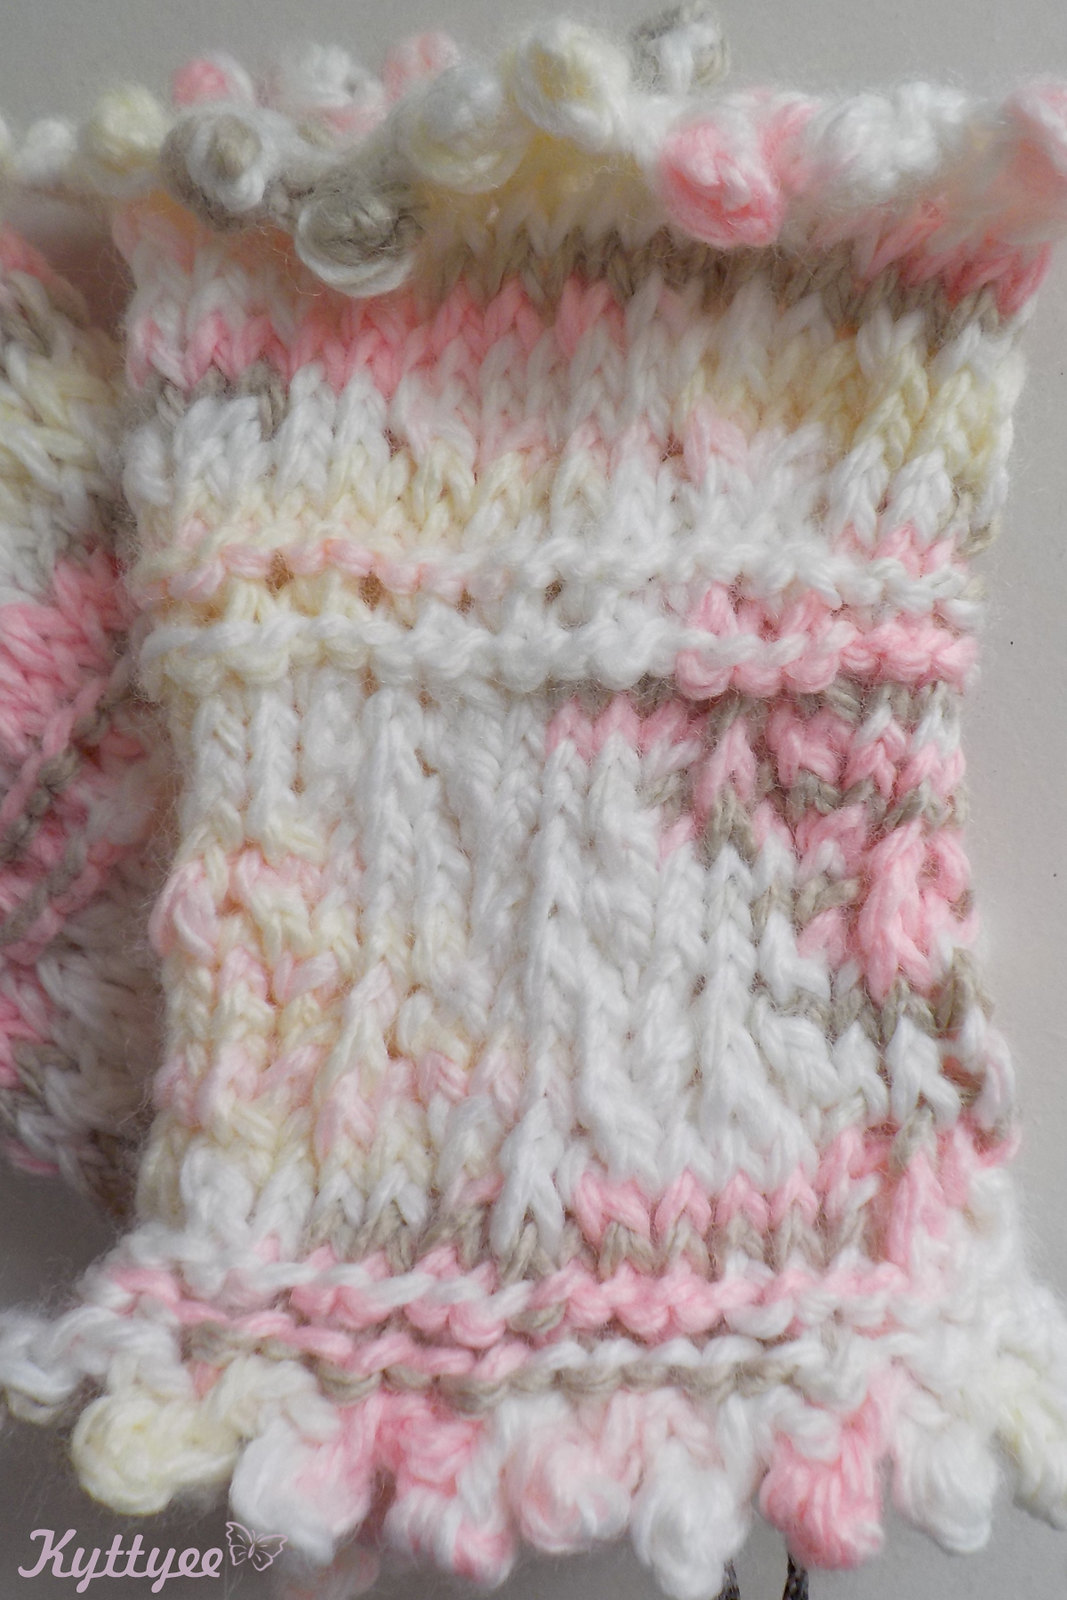
003 / 365: Hey, look! Finished wristwarmers! Since I have tiny baby wrists, I would make them smaller the next time I knit this pattern, but I'm quite pleased with how they turned out ^_^


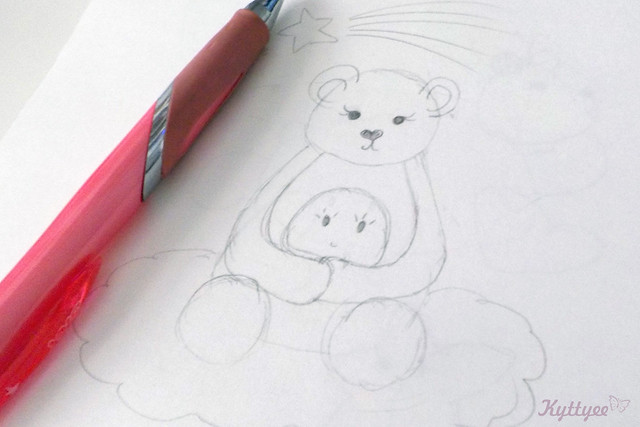
004 / 365: Sketching mascot illustrations for a new J-pop/rock music project I'm starting with a friend.


005 / 365: Having a good way to record my piano playing has inspired me to practice more, because now I can actually use some of my own instrumentals for my cover songs!


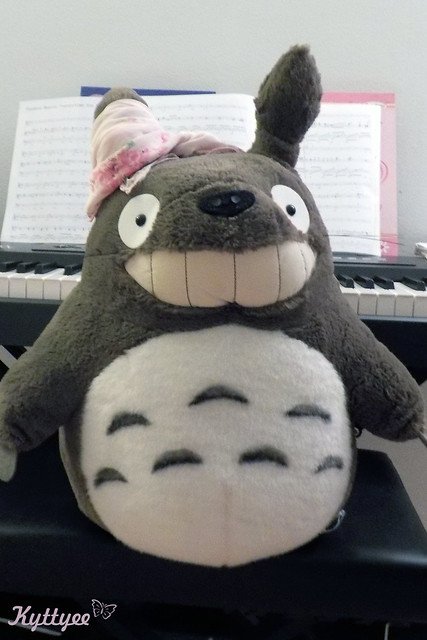
006 / 365: ARRRR!! It's Talk Like a Pirate Day!! Ahoy ye landlubbers, Captain Totoro really likes pink floral headscarves - pirates can be frilly too!


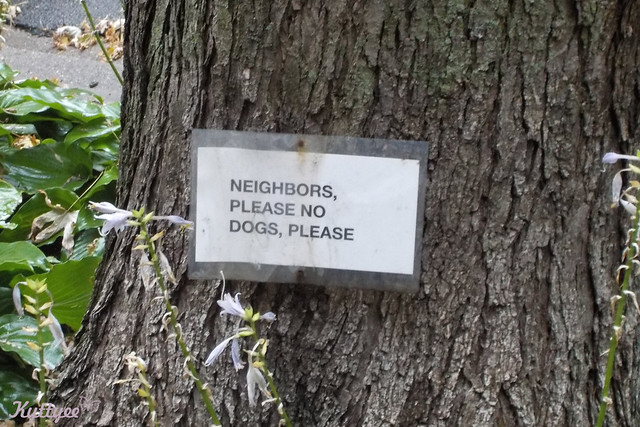
007 / 365: This sign makes me giggle every time I walk past, because the I parse it in my head is: "Neighbors? Please, no. Dogs please!" As if the sign writer really hates neighbors and would prefer dogs instead...


And that is my week in a nutshell!! Let's hope I can keep this up ^_^ And I hope you all have a lovely sparkle-filled upcoming week

Tuesday, January 7, 2014

A Hug from the Sea


I've been knitting a lot! Primarily on the same giant project!

Sometime last year (by which I mean 2012), my friend Courtney wondered if it would be possible to knit an entire bed-sized blanket, rather than the usual afghan-sized blankets. Since I like challenges, I decided that by golly I would knit a whole bedspread for her!

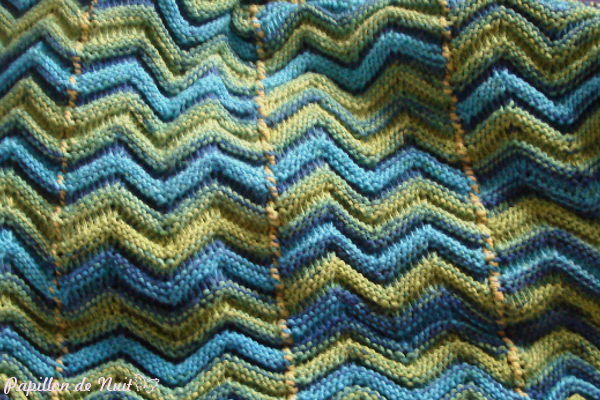
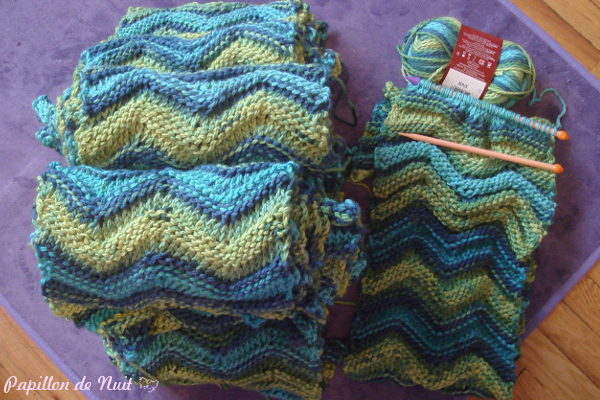
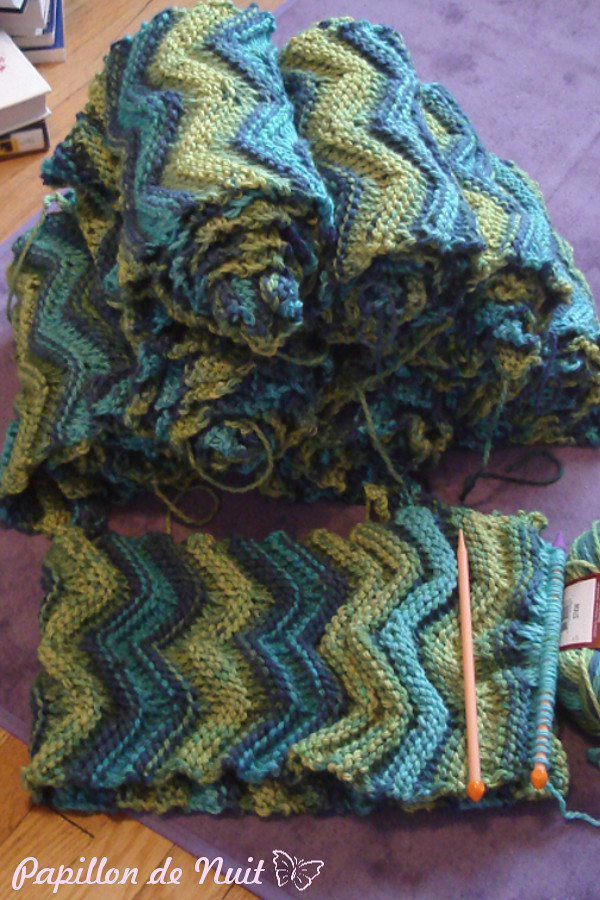
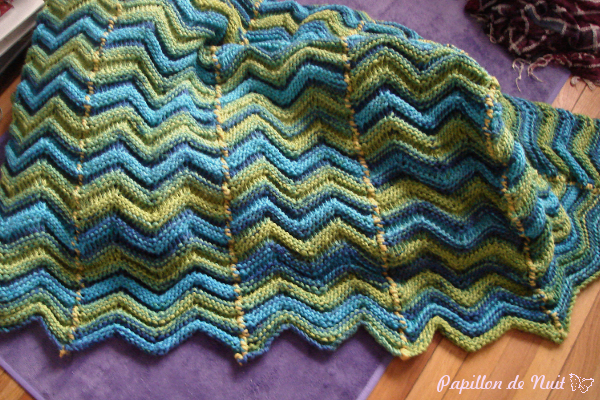
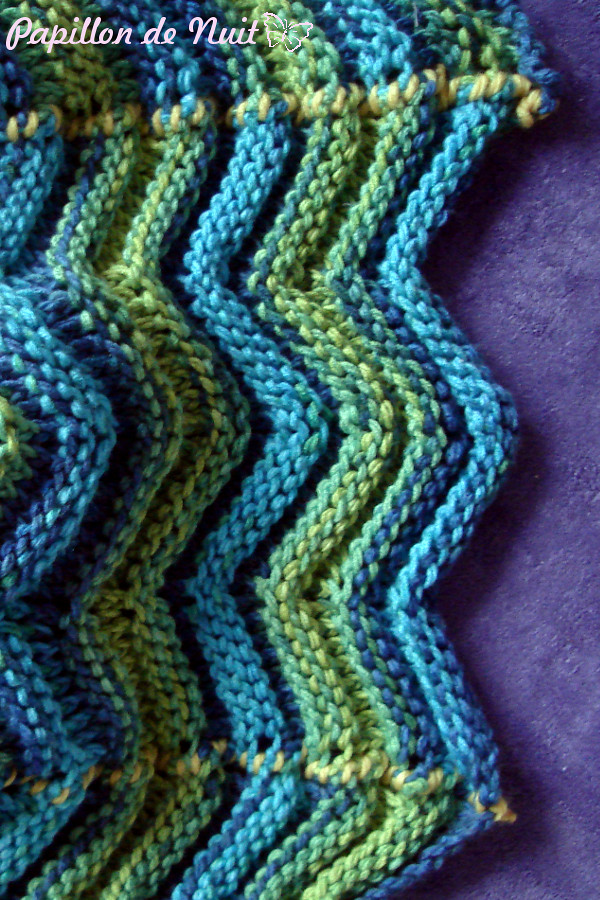
It took about a year of picking at it on and off, with a last 3 months of somewhat more consistent effort, but I did it! She is a very colorful person, and her apartment is also very colorful, so I made my best effort to make the blanket suitably bright. The end result looks to me like waves of greeny-bluey-ness, like the ocean, so I like to think of it as a warm hug from the sea.


Yarn used: Loops & Threads Charisma in Sunny Day (main) and Yellow (joining).

The pattern came from an old magazine of various afghan and blanket patterns that A+'s mother owns. The blanket is knit up in strips (I made 8 strips, 92in long) that are then sewn together in the final step.

Finished dimensions: 92in x 96in (about Queen size)


Monday, April 30, 2012

ACEN 2012 ~ Artist Alley Report

Phew, crazy ACEN weekend is over!! I'm not sure my brain's ready to return to being a grad student yet, but hopefully it gets there soon since I have 40 midterms to grade ^_^

This was my first time doing an Artist Alley table ever, and luckily I shared a table with my friends (especially with all the crazy fashion show stuff going on!). I went into it not really knowing what to expect, and not wanting to run out of things. I need not have worried, since I have tons of leftovers, which incidentally will be going up in my store very soon! In fact, the rose headdresses are up already ^_^

Our table setup ended up working out perfectly, and we had enough variety of shelves to have multiple levels without ending up with a wire cave of doom or anything like that. Look, Lauren even remembered to take a picture!! (I did not, so thank you muchly, Lauren
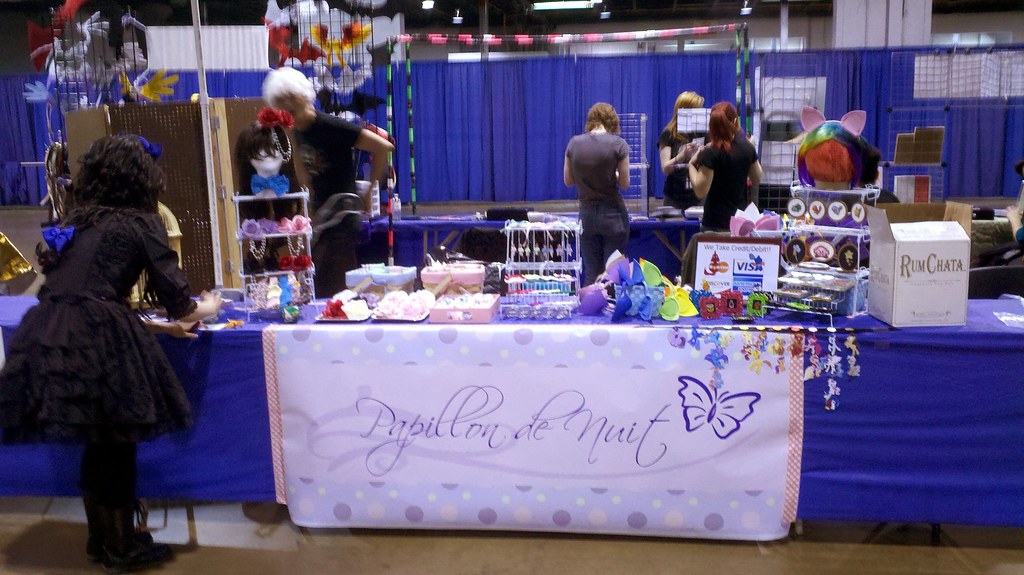


Isn't it beautiful? ^_^ I'm really quite pleased with how well the table layout worked. Also, Lauren's pony display is amaze-pants!

There was pretty decent traffic through our spot, since we were right at the intersection of two large aisles, and also thanks to everyone else being much more vocal than I'm comfortable being.

I think we all ended up doing decently well, and my last-minute mustache necklaces were quite the hit. Time to make more of them, and embellished ones too? XD Also, lots of business cards were taken, so hopefully at least one or two of them end up being looked at again XD

Since this was my first AA, it was a lot of a learning experience. My first conclusion is that I really don't enjoy being a salesperson at all. My second conclusion is that mustache necklaces and fuzzy bows seem to be the preferred items at ACEN. My puffy bows weren't really much liked, and I think my rose headdresses were just outside the general price range. Hopefully I can manage to sell them online, since I really don't need more than a hundred puffy bows all for myself... My third conclusion is that I need to wear an eyecatching full-on OTT Lolita outfit, complete with elaborate hairstyle. Preferably in pastel pink, although my Sunday outfit seems to have been reasonably eye-catching. Maybe bringing my own tablecloth would help too, since then the entire table would be a different color than the standard.

Since I was so busy running around like a crazy person, I ended up not actually doing any of my Saturday or Sunday cosplays I had planned. I did do Zekrom Lolita on Friday, but I was too busy and forgot to take any real photos. Lauren again to the rescue took a photo, kind of. It was after I'd shed my wings and tail, unfortunately, and rearranged my hair to be less painful, but still, general idea exists... Basically kuro-Lolita but with some electric blue bows in the hair (one on top, on at the end of the ponytail bunch going down my back - you can see it in the table photo). So yay!
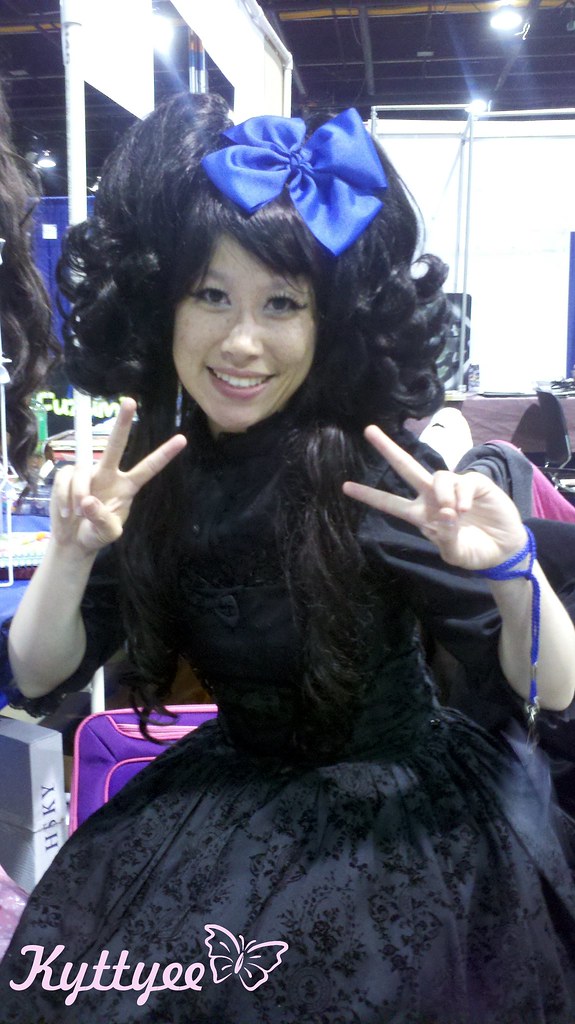


And of course, my Sunday outfit - the one "real" Lolita outfit I wore all weekend, since it was the only day I wasn't either cosplaying or needing to have my hair in a way that was suitable to being stuffed inside a wig at a moment's notice.
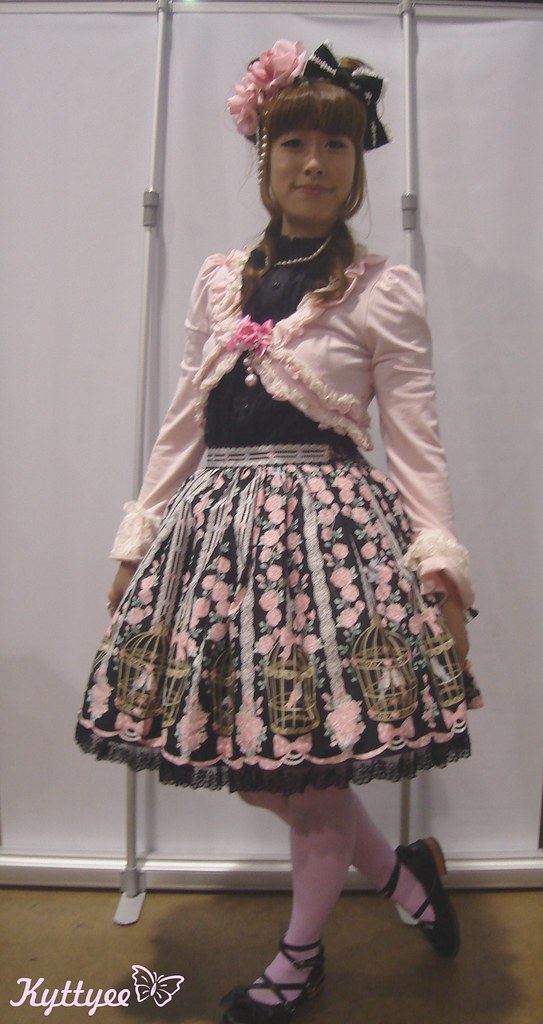


I'm wearing the skirt and headbow that I bought at the AP booth, in fact. I had seen this birdcage skirt on the Japanese site, and really really wanted it. And they had it at the booth! In black! In skirt form! It was just too perfect to resist. I thought about getting the socks too, but couldn't really justify spending the money after I also bought a purse from them. It's a really nice purse, and roomy too! Hopefully I get some good use out of it, since I've been needing a nice black Loli purse for awhile now ^_^

All in all, a really exciting ACEN! A report about the fashion show will probably come next, but I want to wait until I find out more about whether it's okay to post my photos or not. I already posted two of them, since I didn't realize we might not be supposed to (nobody said anything about it at any point), but I want to refrain from doing anything else for now.

Tuesday, April 3, 2012

The Velveteen Rabbit

Inspired by nothing in particular, I've succumbed to a sudden desire to make the decor in my room more coherent to a particular aesthetic. For the longest time, my room's been vaguely girly with random splashes of J-idol and anime fandom posters. At least all my furniture is mostly white or neutral wood, but that's about it. I've decided to take it in a more coherently romantic girly direction (which means taking all my posters and putting them away in a different place, not that there's enough wall space for even half of them anyways). Maybe if I ever get to a larger room, I can put them all up on a dedicated fandom wall ^_^

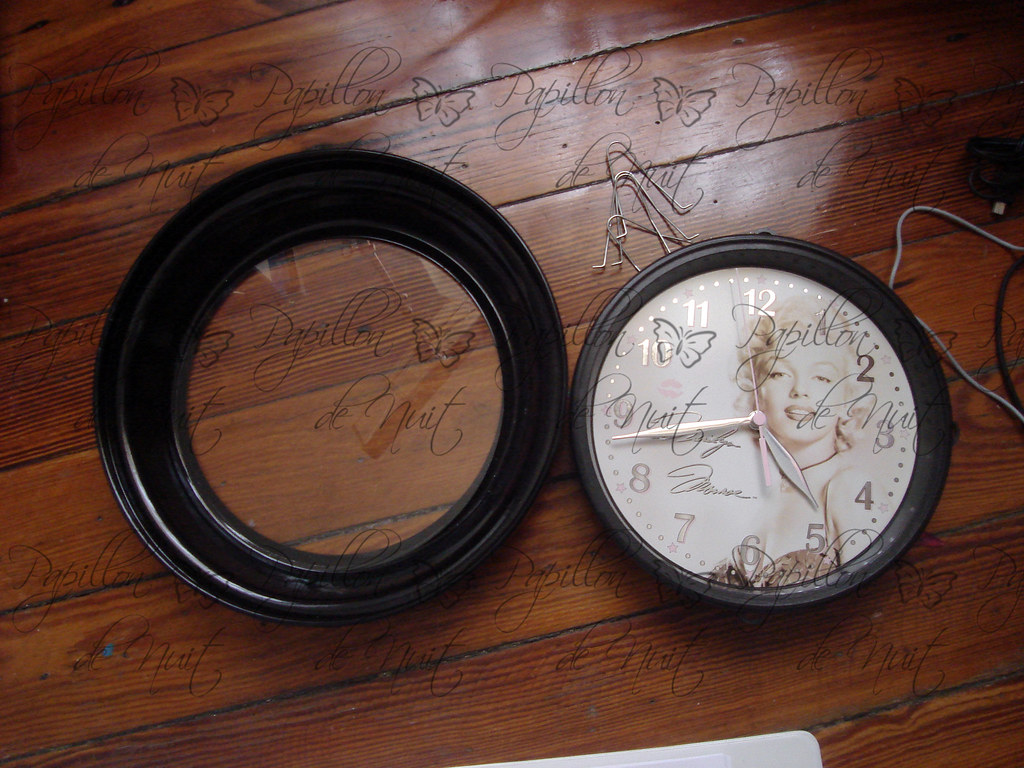
The first bit of my renovation was addressing my wall clock that I've had for the past four years. I bought it because the shape was nice, and the color scheme, but I'm honestly not a particular fan of Marilyn Monroe. So I figured, why not redo the clock face myself?!


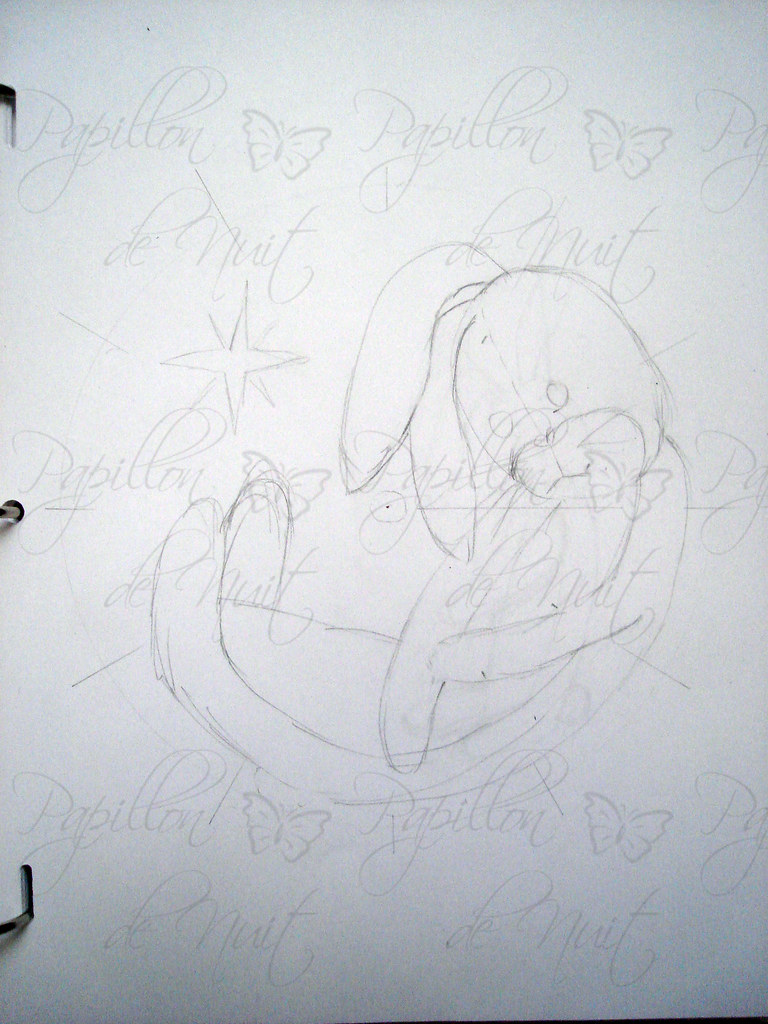
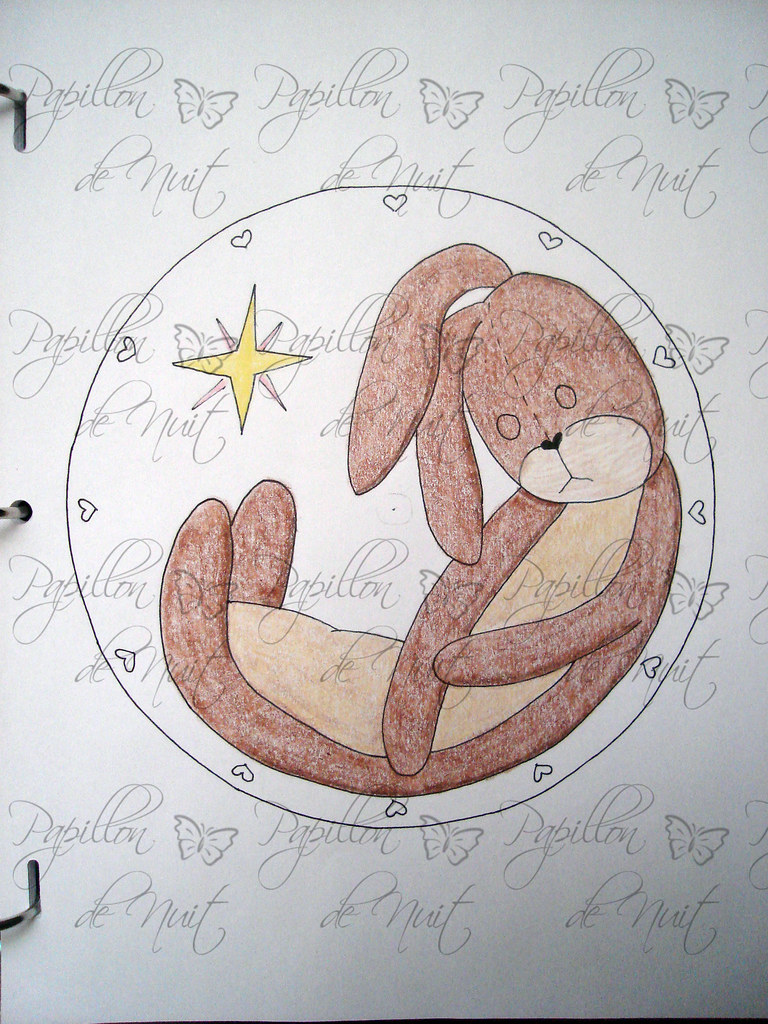
I've always loved The Velveteen Rabbit, it's one of my favorite childhood stories and definitely speaks to my heart. I figured it would be perfect to have as a clock face - I had a lovely mental image of the rabbit slouched in an arc just right for the edge of a round clock. Plus, the color scheme would fit right in with the aesthetic theme ^_^ And with that, I just started sketching


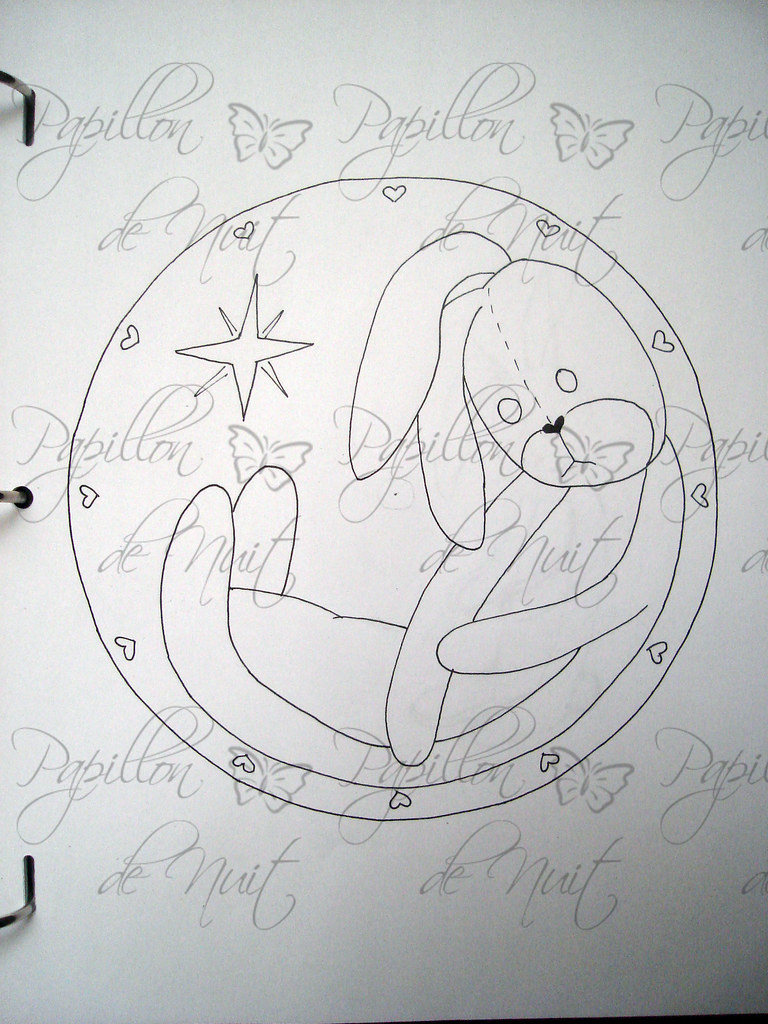
Once I got the position and shapes about right, I went ahead and inked the main outlines of the rabbit and the star. I also inked in the shapes marking the main hour positions.


Next was coloring the design! This was a great excuse to finally bust out my Prismacolor Art Stix, which I've had for quite awhile, but never actually used until now. Well, I was missing out, because they're quite amazing. The rectangular prism shape is really interesting, because you can use the wide edges for filling, and the corner points for details. The texture is also really nice, the colored areas feel kind of glossy, but not waxy like if I had used crayons. Blending is really nice, and as a last step, I buffed all the colored areas with a Kleenex, which softened all the colors together and gave it a nice finish.


I then colored in the hearts and the dots marking the seconds using Sharpie. The numbers are silver stickers. I went with just the four cardinal ones because putting on more numbers would end up covering up quite a lot of the design :( I had to cut a slit to get it into the clock (I couldn't actually pull out the hands), and didn't notice how badly it showed in the finished photo - unfortunate lighting. It's not actually very visible at all once the clock's back on the wall.


And there we go, all done!! I'm quite pleased with how it turned out, considering I drew it freehand, and it was my first time coloring with the Art Stix!

Friday, February 3, 2012

Lilac Rose Vine Scarf

As a birthday present for Aaron, I took up the task of knitting his sister a scarf (since he doesn't know how to knit himself). I had hoped to get it done in time for Hanukkah, but I underestimated how much time I would need to invent and execute the pattern, and also how much free time I had at the end of the Fall quarter.

In any case, it's finally done and sent to her, so I can post about it now!

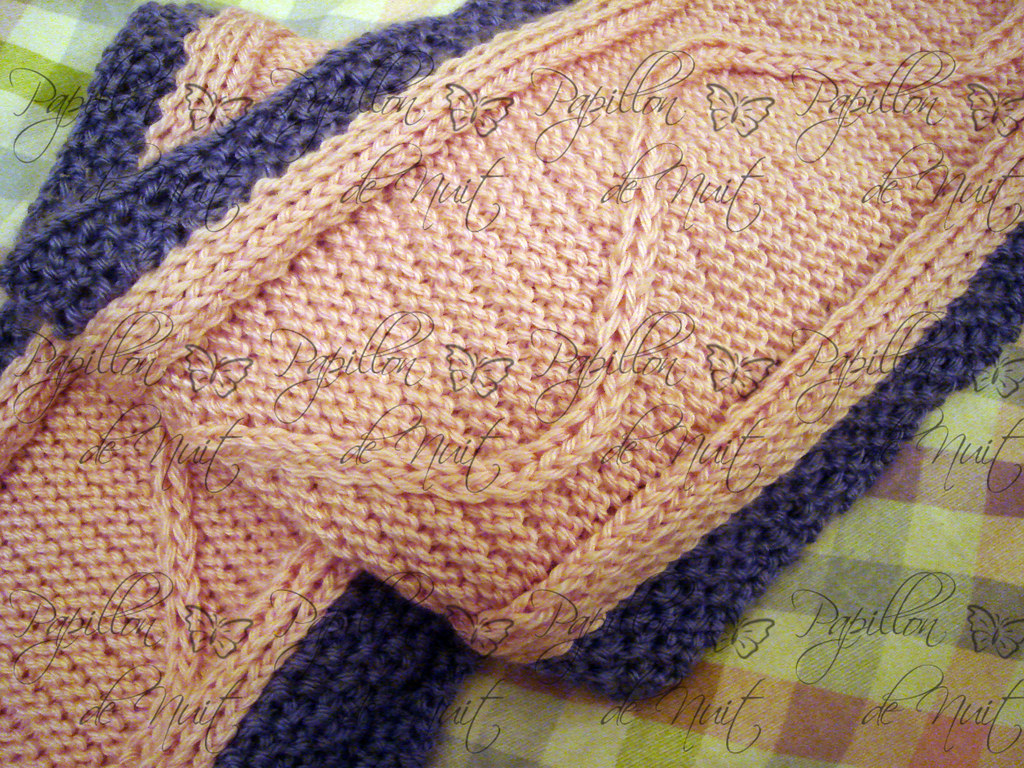
I used lilac and pink yarn, because purple is her favorite color and pink represents her fight against breast cancer. I wanted to make it more interesting than just a plain scarf, and I thought that a winding vine motif would be pretty. It took me a couple of false starts and a lot of tearing out and re-knitting to get the pattern right, but I eventually did it ^_^

So onto the pictures! It's actually pretty simple-looking, so there wasn't a lot to take pictures of. But here's the scarf in its entirety:


And a closeup of the vine going down the center:


I'm really glad that the colors worked out nicely, and that the winding vine actually does stand out enough to be seen. And of course, I'm really really happy that she likes the scarf ^_^

Monday, October 10, 2011

Homestuck Figurine - John's Wise Guy Slime Suit

I've been reading MSPaintAdventures for awhile now, after my boyfriend introduced me to it (some of the stories were used in the MIT Mystery Hunt awhile ago). And we've been reading and discussing the current ongoing story, Homestuck.

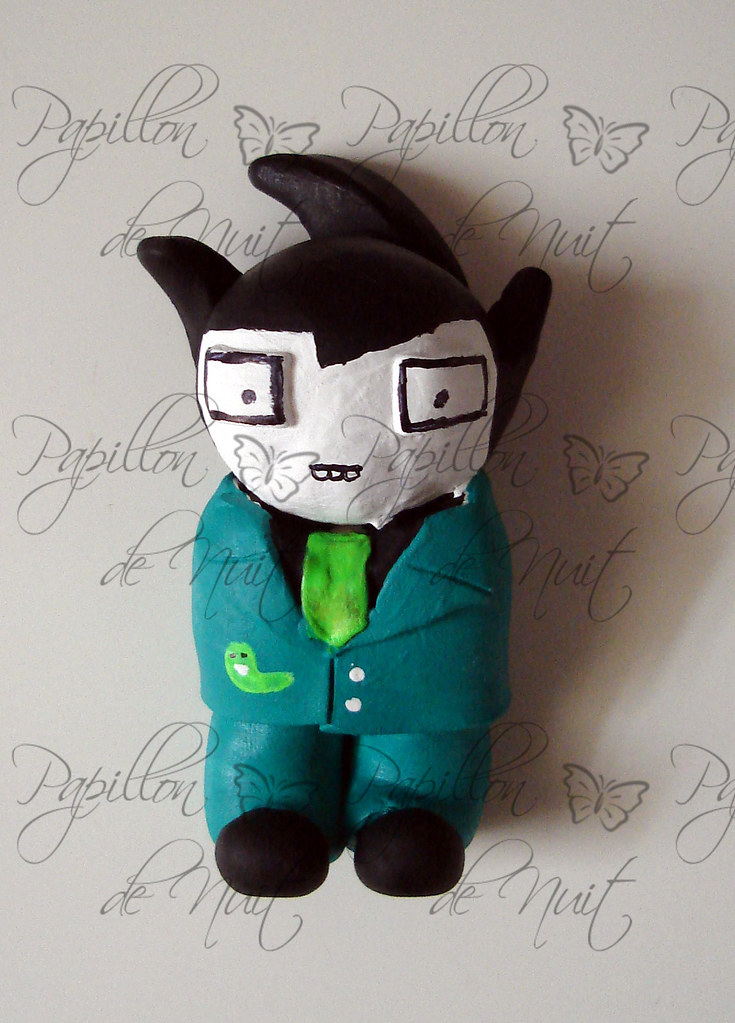
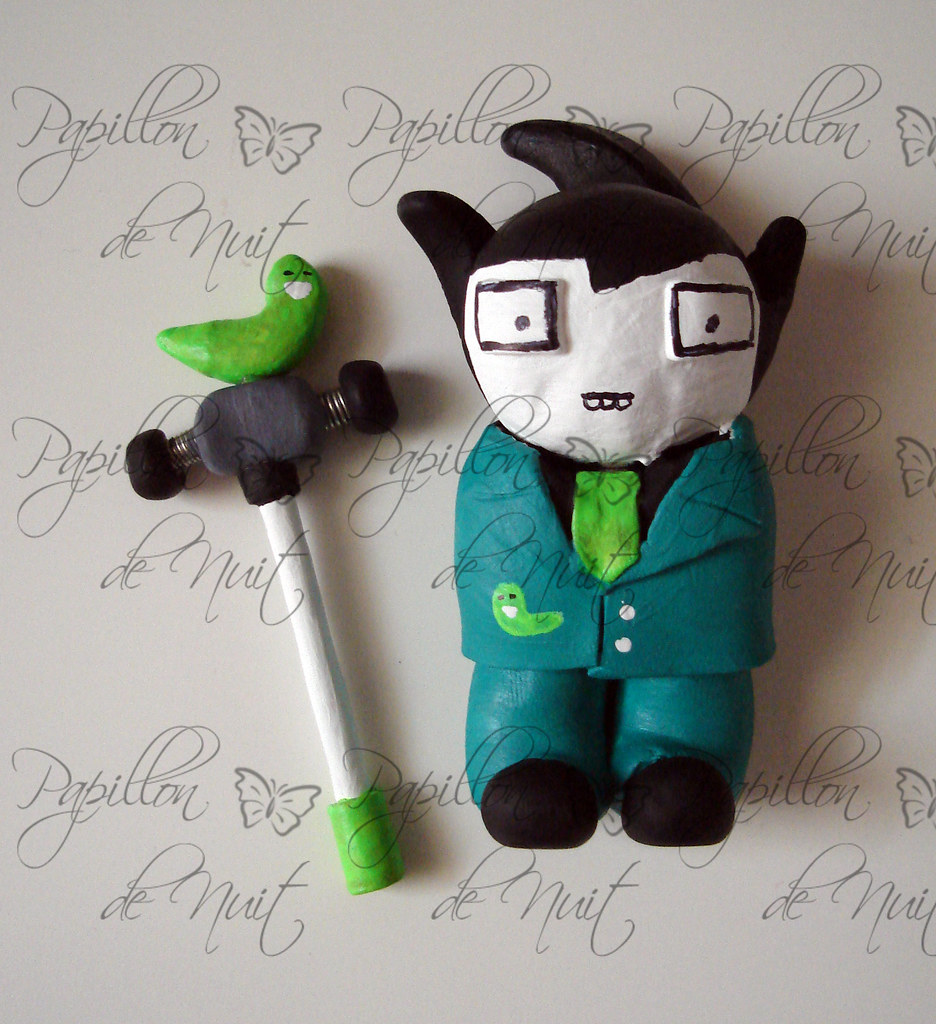
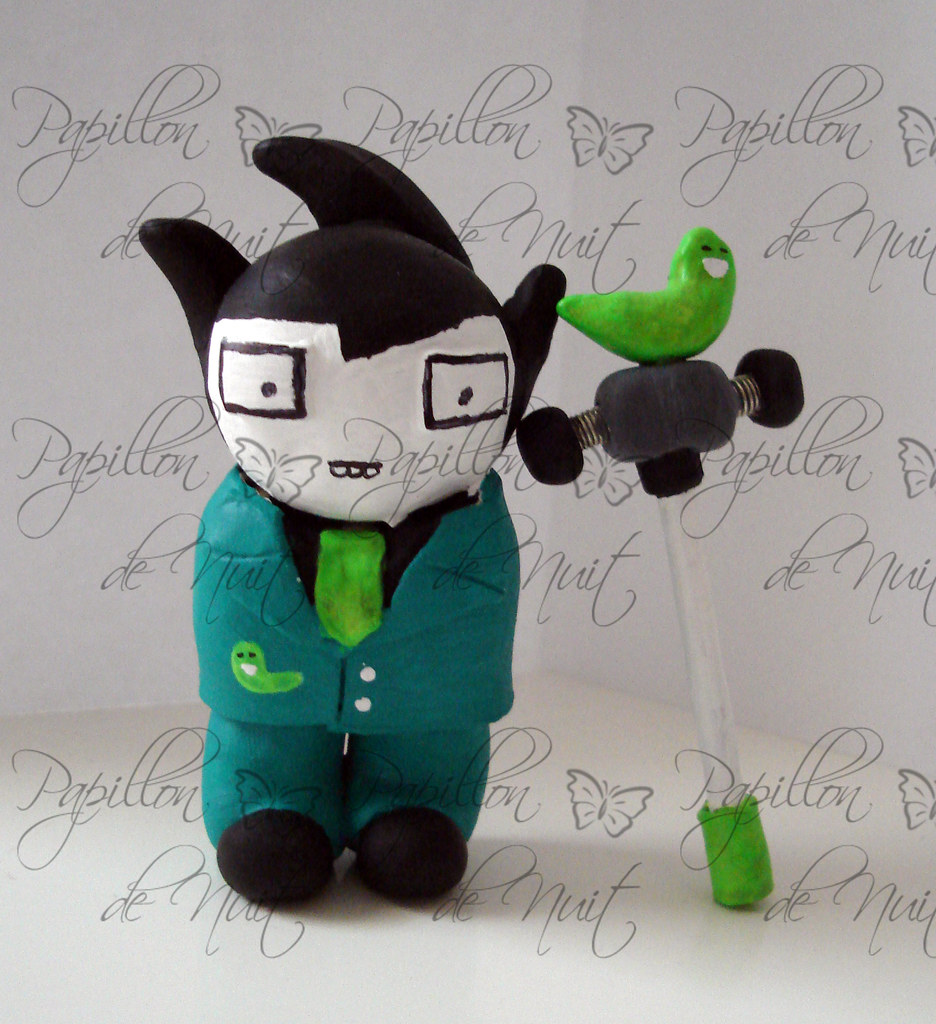
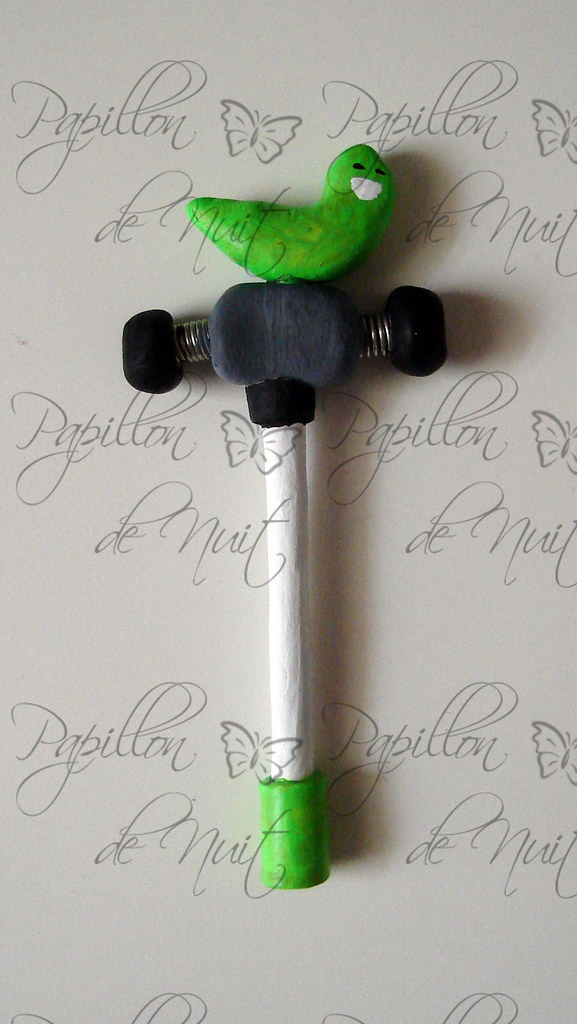
Since John is his favorite character, I decided it might be fun to make him a little clay figurine of John. So, here's John in his Wise Guy Slime Suit (my boyfriend requested this outfit) and his awesome Pogohammer!!


John

I sculpted him out of white polymer clay. I basically started off with a cylinder-ish shape for his body and a sphere for his head, then added pants and jacket in separate pieces, and then added extra things for his hair shape. Here is the figure pre-paint:


Aaaand here he is after painting! For awhile he looked like a derpy Dracula (I think it's the hair/head).


Pogohammer

I actually didn't take a pre-paint photo of this T_T However, it was also made out of white polymer clay, with coiled jewelry wire for the springs (so yes, those are in fact actual miniature springs). The slug was made as a separate piece and then glued on after everything was painted.


And here's John together with his Pogohammer!


They even stand up!!


This was a lot of fun to make, and I'm totally considering making figurines of other characters so the boyfriend can have a whole set ^o^

Sunday, May 29, 2011

ACEN 2011 Cosplay - Nana "Hachi" Komatsu [NANA]

The new cosplay I made this year was for Day 2. This was a last-minute inspired duo cosplay that I did with my friend ^_^ We were the two Nana's from Ai Yazawa's "NANA": She was Nana and I was Hachi <3 data-blogger-escaped-br="">
I made the scarf, legwarmers, T-shirt, and skirt part of this cosplay, and I dyed my own hair to make it the right color for Hachi.

Scarf + Legwarmers


I made these out of gray sweatshirt fleece, and then used dot stencils + spray fabric paint to apply the dots. I'll just say that the spray fabric paints I used.... TOTALLY NOT WORTH IT. It would've been faster and less painful to just get normal fabric paint and sponge them on like I normally do. Oh well, they came in the perfect colors.

T-Shirt


I made this out of a plain navy T-shirt from Michael's (I modified the bodice and sleeve length, and the neckline), pink bias binding, some pink crinkle crepe, and acrylic paint. I did not have fabric paint in the right color, so I just went ahead and used acrylic. It'll require washing with care, but oh well. I finally realized why the shirt said "Seven" on it at about midnight the night before... Nana = seven... hahaha... >_>;;

Skirt


My piece de resistance in this outfit... Ruffles... I hate ruffles... I ended up just doing them kind of ghetto to save time. After the bottom-most layer, I didn't bother stitching and properly pulling them... I just gathered randomly by hand, pinned randomly, and then sewed. It actually turned out pretty well, and I don't think any worse than if I had spent a lot of time doing them "correctly". My bottom layer and the rest look about the same... The top layer actually looks better, but that's because I was careful about sewing it straight since nothing would cover it. I'm quite pleased with how this turned out, especially since the pattern-drafting actually went very quickly!! *happy with self* And also... I hate ruffling slightly less now that I know I can do it manually and it turns out fine... only slightly less...

And the whole outfit:


There it is!! I had so much fun on Saturday, between the fashion show and wandering around with friends ^_^

All in all a very successful ACEN!! b(^o^)d

Saturday, May 28, 2011

ACEN 2011 Cosplay - Amulet Spade [Shugo Chara]

For Day 1 of Anime Central this year, I decided to pull out my old Amulet Spade cosplay (from AX2009). The new thing that I made for this year was her Baton.

And funny enough, it was made from a pair of disposable chopsticks and lots of jewelry wire, a couple hours in the morning before I left for the convention center XD Given the circumstances, I'm pretty proud of how it turned out!!

Here's the baton itself:


And the whole outfit together:


People actually recognized me (more than I expected) and I even got a hug from a super-cute Amu ^_^ The whole day was super fun because it was the first time I wasn't just wandering around ACEN all alone <3 data-blogger-escaped-br="">
(^o^)/ Prism Music~~!!

Tuesday, April 26, 2011

Double Rose Pearl Brooch

Old craft is old, but unfortunately, I don't have enough free time to catch up with editing all my crafts photos T_T

For her Christmas present, I made Oli, my Lolita mentor, a set of rose brooches/hairclips. It was designed a little bit after some of the headpieces made by Victorian Maiden (roses with trailing pearls, etc) but I wanted it to be versatile, so that it could be worn in many ways, with the roses connected and without. I'm super-happy that they turned out well, and that they fit in so perfectly with Oli's wardrobe <3

Anyways, onwards to my photos/explanation of the brooch set!


Sitting innocuously on my bed... this is with the pearl chain attaching the two roses.


And this is with the unchained rose separated from the one where the chain originates.

To get a better idea of what I'm talking about with the chains and whatever, here's a shot of the back of the "main" rose (ie, the one that the chain is attached to).


One end of the pearl chain is permanently attached to the main rose. The other end has a small lobster claw on it, so you could really hook it wherever strikes your fancy. The chain itself consists of two differently-lengthed strands to create a more interesting look when it's fully draped out.

Some arrangement suggestions for dealing with the chain and roses... (and I'm sure Oli's gotten even more creative with them, she's awesome at this sort of thing)!

Single Rose, Short Loop:


Single Rose, Long Loop:


Two Roses, Clustered:


Two Roses, Spread:


I was pretty pleased myself with how they turned out! I was worried they'd stick up too much from the brooch/clip back, because I couldn't trim the stems on the flowers as close as I wanted. Fortunately, that actually worked out well, in that I could build up a couple layers of craft foam to strengthen the attachment point for the brooch/clip back.

Also... Michael's does not sell stemless/millinery flowers... I had to buy an entire flower and clip off the blossom myself. Good thing I bought that pair of diagonal cutters for cutting cable ties... >_>;;

To finish it off... an artistic view of the pearl chain (which I made by hand, by the way... man that took a really long time, but now I'm awesome at making wire loops...).


<3