Tuesday, May 25, 2010

ACEN 2010 Cosplay - Miwako Sakurada [Paradise Kiss]

I decided to cosplay one of my all-time favorite manga/anime characters - Miwako Sakurada from Paradise Kiss *o* Not only is this series among my top two favorite series, this character is herself one that I especially like and feel like I can identify with.

Since it's my first full dress, I decided to go with one of her simpler looking outfits that doesn't require special printed fabrics. I also chose a very Lolita styled dress so that I could make good use of the tutorials floating around the Lolita sewing community on Livejournal, plus maybe be able to actually wear the dress for something other than my cosplay! Hence, I went with this outfit:
Miwako-Ref.bmp

I couldn't find any actual colored reference pics, but based on previous cosplayers, the consensus seems to be that the dress is pink with a white apron on top, and then white socks and shoes. So that's what I went with as well. I needed a matching thing-carrying device as well, and Miwako conveniently has an adorable Happy Berry backpack to go with this outfit!

So there were four main parts of this cosplay that I had to do: dress, apron, wig and backpack!

Scallop-Edged Dress

This was quite a big project, since it's the first full dress I've ever made! I had to draft patterns for bodice and sleeves, as well as a skirt with a scalloped hemline. For the bodice and sleeves, I used this awesomely helpful tutorial from the Livejournal sew_loli community.

I decided to do a fully lined bodice, so I basically had to make 2 bodices (inner and outer layers shown):
Prog01 Prog02

And then sewed them together in the final assembly (front and back - with elastic channels):
Prog04 Prog05

The skirt was also fully lined (with polyester lining) and has 2 pockets. Just the outer layer (before lining was attached) is shown:
Prog03

And the final assembled product?
Dress

Yaaaaaaaaay! Okay, so I had to dart in the waist because my waist is noooot as big as my bust, so next time I should just draft the darts into the pattern instead of doing them ad hoc. Also, I should've been more careful with the skirt gathering, because it's actually slightly skewed offcenter relative to the bodice, but oh well... Now I know.

Apron

The apron was pretty easy to draft. I basically just made a rectangle for the upper part, and a circle skirt (with a cutout in the back) for the lower part. Waist ties are attached at the waist and neckties run through the top of the upper part (to make the gathers).

Tadaa!!
Apron

This one also wasn't perfect. I should've used more like a trapezoid or something, because it tended to hitch up in the side/back and droop in the front. I fixed this on the fly by just safety pinning the top edge of the apron to the dress so it wouldn't droop anymore. Oh, and the neckties needed to be longer.

Wig

I started off with an "Innocent" wig in pink from Amphigory:
Prog06

I took out the original ribbons + rubber bands and redid the ponytails a little higher with matching pink baubles:
Prog14 Prog15

And then proceeded to make a partial bun twist with each pony, and pin the remaining dangling curls into place over the bun part.
Wig

I'm actually really please with this! Yay for successful first wig styling!! Not that it was complicated, but, still...

Happy Berry Backpack

Aaaaand the part I'm most proud of... my backpack!! It's fully functional, with a drawstring closure and a hook to keep the top flap down (I'm going to switch it to something better soon), and is lined with silky pink lining on the inside! The green part is actually a removeable pin, if I ever wanted to remove it, and the wings are stuffed so they're actually 3D!

After full assembly with outer and lining, but before wing-stuffing and drawstring (front and back):
Prog07 Prog08

Ugly grommets are ugly, but hey, I did it! It was kind of a pain putting them in by hand, but it actually worked pretty well, and they seem sturdy enough.
Prog09

Green thingy pin:
Prog10 Prog11

Made of 3 layers of green felt (top layer is lighter green than the bottom 2), and the spiral is yellow paint.

The adjustment buckle on the strap is made from Shrinky Dink (painted pink):
Prog12 Prog13

Aaaand the final product:
BackpackFront
BackpackBack BackpackSide

I am very very completely pleased about this backpack, and it was plenty roomy to carry water bottle, program book, snacks, 20 calling card goody bags, camera, makeup, and more!

Pics of it all worn!

MiwakoFront
MiwakoBack

I need to learn how to put on wigs better to hide my stupid sideburns, but other than that I'm pretty pleased since it's only me second time cosplaying!!

Monday, May 10, 2010

Strawberry Frenzy - Wristcuffs and Sock Toppers

Aaaand here's part two of my strawberry frenzy! And at this point, it really is a frenzy, what with ACEN looming, piles of schoolwork, unfinished cosplays/goody bags... T_T

As mentioned before, the awesome lady I'm modeling in the fashion show for asked me to bring some strawberry-related accessories to go with the outfit. I made this set of wristcuffs and sock toppers with felt stuffed strawberries. Unfortunately, this is really short notice, and apparently Vogue Fabrics has fantaaaastic fabric selection but really rather... meager... lace selections. I realize this lace is "bad lace" (I'm going to be itching like crazy) but it was the best I could do (it had to be a beige, not white) in the time and resources that I have T_T I think they'll be fine from onstage though... Yay 20-feet rule!

Anyways, onto the pictures! I was in such a rush I didn't take any progress pics... oh well :-P

The wristcuffs! I decided to just have a single strawberry directly attached, so that it's not too busy/overwhelming for wrists:
Strawberry Wristcuffs.jpg

Strawberry Wristcuffs - Closeup.jpg

And the sock toppers! These have cute dangles, since my legs are big enough for them to not look ridiculously overpowering :-P
Strawberry Wristcuffs.jpg

Strawberry Wristcuffs - Closeup.jpg

Aaaand I finally managed to finish my complete Miwako cosplay (although, I'm waiting on shoes to hopefully get here in time), but Amulet Spade's shirt seems like it's not going to get redone anytime soon. At least I'm (hopefully) getting new boots that I will spraypaint brown, so that I'll have correct boots this time around.

Friday, May 7, 2010

Strawberry Frenzy - Jewelry Set

I'll be attending Anime Central 2010 this year (it's coming up soon!) and I'm walking in the fashion show. The designer I'm working with has me wearing a Country Lolita outfit with a strawberry motif. While she is providing the dress, a matching purse, and a necklace, I was asked to provide some other accessories of my own.

So I decided to start off by making a ring and some earrings to go with the outfit!

I've been experimenting with making plastic jewelry from Shrinky Dinks, and while I've had varying levels of success, I figured they would be the way to go for making some simple plastic strawberry pieces. It took a couple of tries to figure out which colors to use (because they get darker when the shrink plastic is cured) as well as how much to scale up the final size that I wanted (because it's not exactly 3X like the instructions say it is).

Here's the final setup, with one cured piece and two pre-cured pieces:
StrawberrySet01.jpg

I used Sharpie permanent markers to draw and color the pieces first. Then I cured them in a toaster oven, and drew on the seeds afterwards using a black Sharpie. The holes in the earrings were punched before curing, using just a single-hole puncher.

I then added some wire and earring findings (wire was to make the strawberries face the right way), and glued a ring base onto the back of the unpunched strawberry.
StrawberrySet02.jpg

TADAA!!

The backs are a bit rough, because the plastic got stuck to the paper I had it on in the oven, which had some lines. Those lines unfortunately transferred onto the plastic. And Shrinky Dinks sometimes end up curling up on themselves while they're curing, and while usually they unroll eventually, the Sharpie sort of melted off a little onto the backs, so there's random patches of red and green on the backs of a couple of the pieces. But nobody's looking at the backs anyways, especially not while I'm up on the stage.

So all in all, I'm quite pleased!
Next in line is a set of wristcuffs and sock toppers with felt strawberry dangles!

(And of course, I need to somehow find time to finish my cosplay(s)...)

Friday, March 19, 2010

Deco Pearl Headphones

So, inspired by Violet LeBeaux's deco activities, specifically this tutorial, I decided to celebrate my completion of all my final projects by decorating my own headphones.

I started out with an old set of over-the-ear headphones I've had for a couple years now.  They're Panasonics, and the sound is still nice, but since I carry them around in my backpack, they're a little bit beat up ^.^;;  I had some really pretty resin roses that I got from Etsy, so I decided to incorporate them along with some old "pearl" beads I had laying around.

And the result:


Now, in person, you can still see the original ring of blue that I put the pink pearls over, so if I did this again, I would paint that part silver to match the rest, or pink or something NOT NEON BLUE. But overall, I'm pretty pleased with how it worked!

I put the rose on first, so I could center it, and then put the ring of pink pearls around it (on top of the original neon blue ring). And then I filled in the space between the rose and the pink with small white pearls. I'm actually glad it didn't come out looking like a gloopy mess (yay for clear-drying epoxy ^.^;;) because it was a mess trying to dip each tiny pearl in glue and then get it onto the headphone. I finally decided to just put the glue on the headphone, wait for it to get tacky, and then pour the pearls on top and maneuver them into position. That worked much better ^.^;;

So yes... DECO SUCCESS!! Now I kind of want to do this to everything I own, but I used up all my pink pearls on this >.< Time to buy more!

Tuesday, March 9, 2010

Harmonies FTW!!!

Did I even mention how much I love harmonies? And how I enjoy being masochistic... by learning harmonies by ear? ^.^

Aaaanyways, AKB48's "Sakura no Shiori" was pure delight for me, because of... AWESOME HARMONIES!!! I first heard it by walking past K-Snow's room, and thought that they'd for some reason suddenly gotten into Japanese children's choirs. I adore choral music, and this song definitely has that sort of sound to it. Not to mention wonderfully intricate (well, for pop music anyways) harmonies!!

And of course, I just had to learn them... I spent two days picking out harmonies and finally arrived at my own 4-part choral arrangement of this song (for SSAA choir). I think I captured most of the original harmonies, and there might be a couple that I randomly made up XD In any case, I feel like it was reasonably successful :-P

So here's a beta version of me singing all 4 parts (which splits occasionally into 5-6 parts) :-P

Sakura no Shiori

Okay, so for some reason my alto parts are synchronizing weirdly such that they sometimes create horrible beats, but I don't think it's *too* noticeable in when mixed with the other parts ^.^

So yeah... hope you enjoy it!!

Tuesday, January 12, 2010

My Sweet Tooth

I participated in a Secret Santa exchange recently, in which my giftee requested sweets jewelry. Since my travel plans didn't allow for me to order something online, and they don't exactly sell sweets jewelry around here, I decided I would just make my own with polymer clay!

I was especially stoked because I'd recently bought a new crockpot for the express purpose of baking polymer clay things and hadn't actually used it yet. So yay! Sweets jewelry + christening of my polyclay crockpot = _>

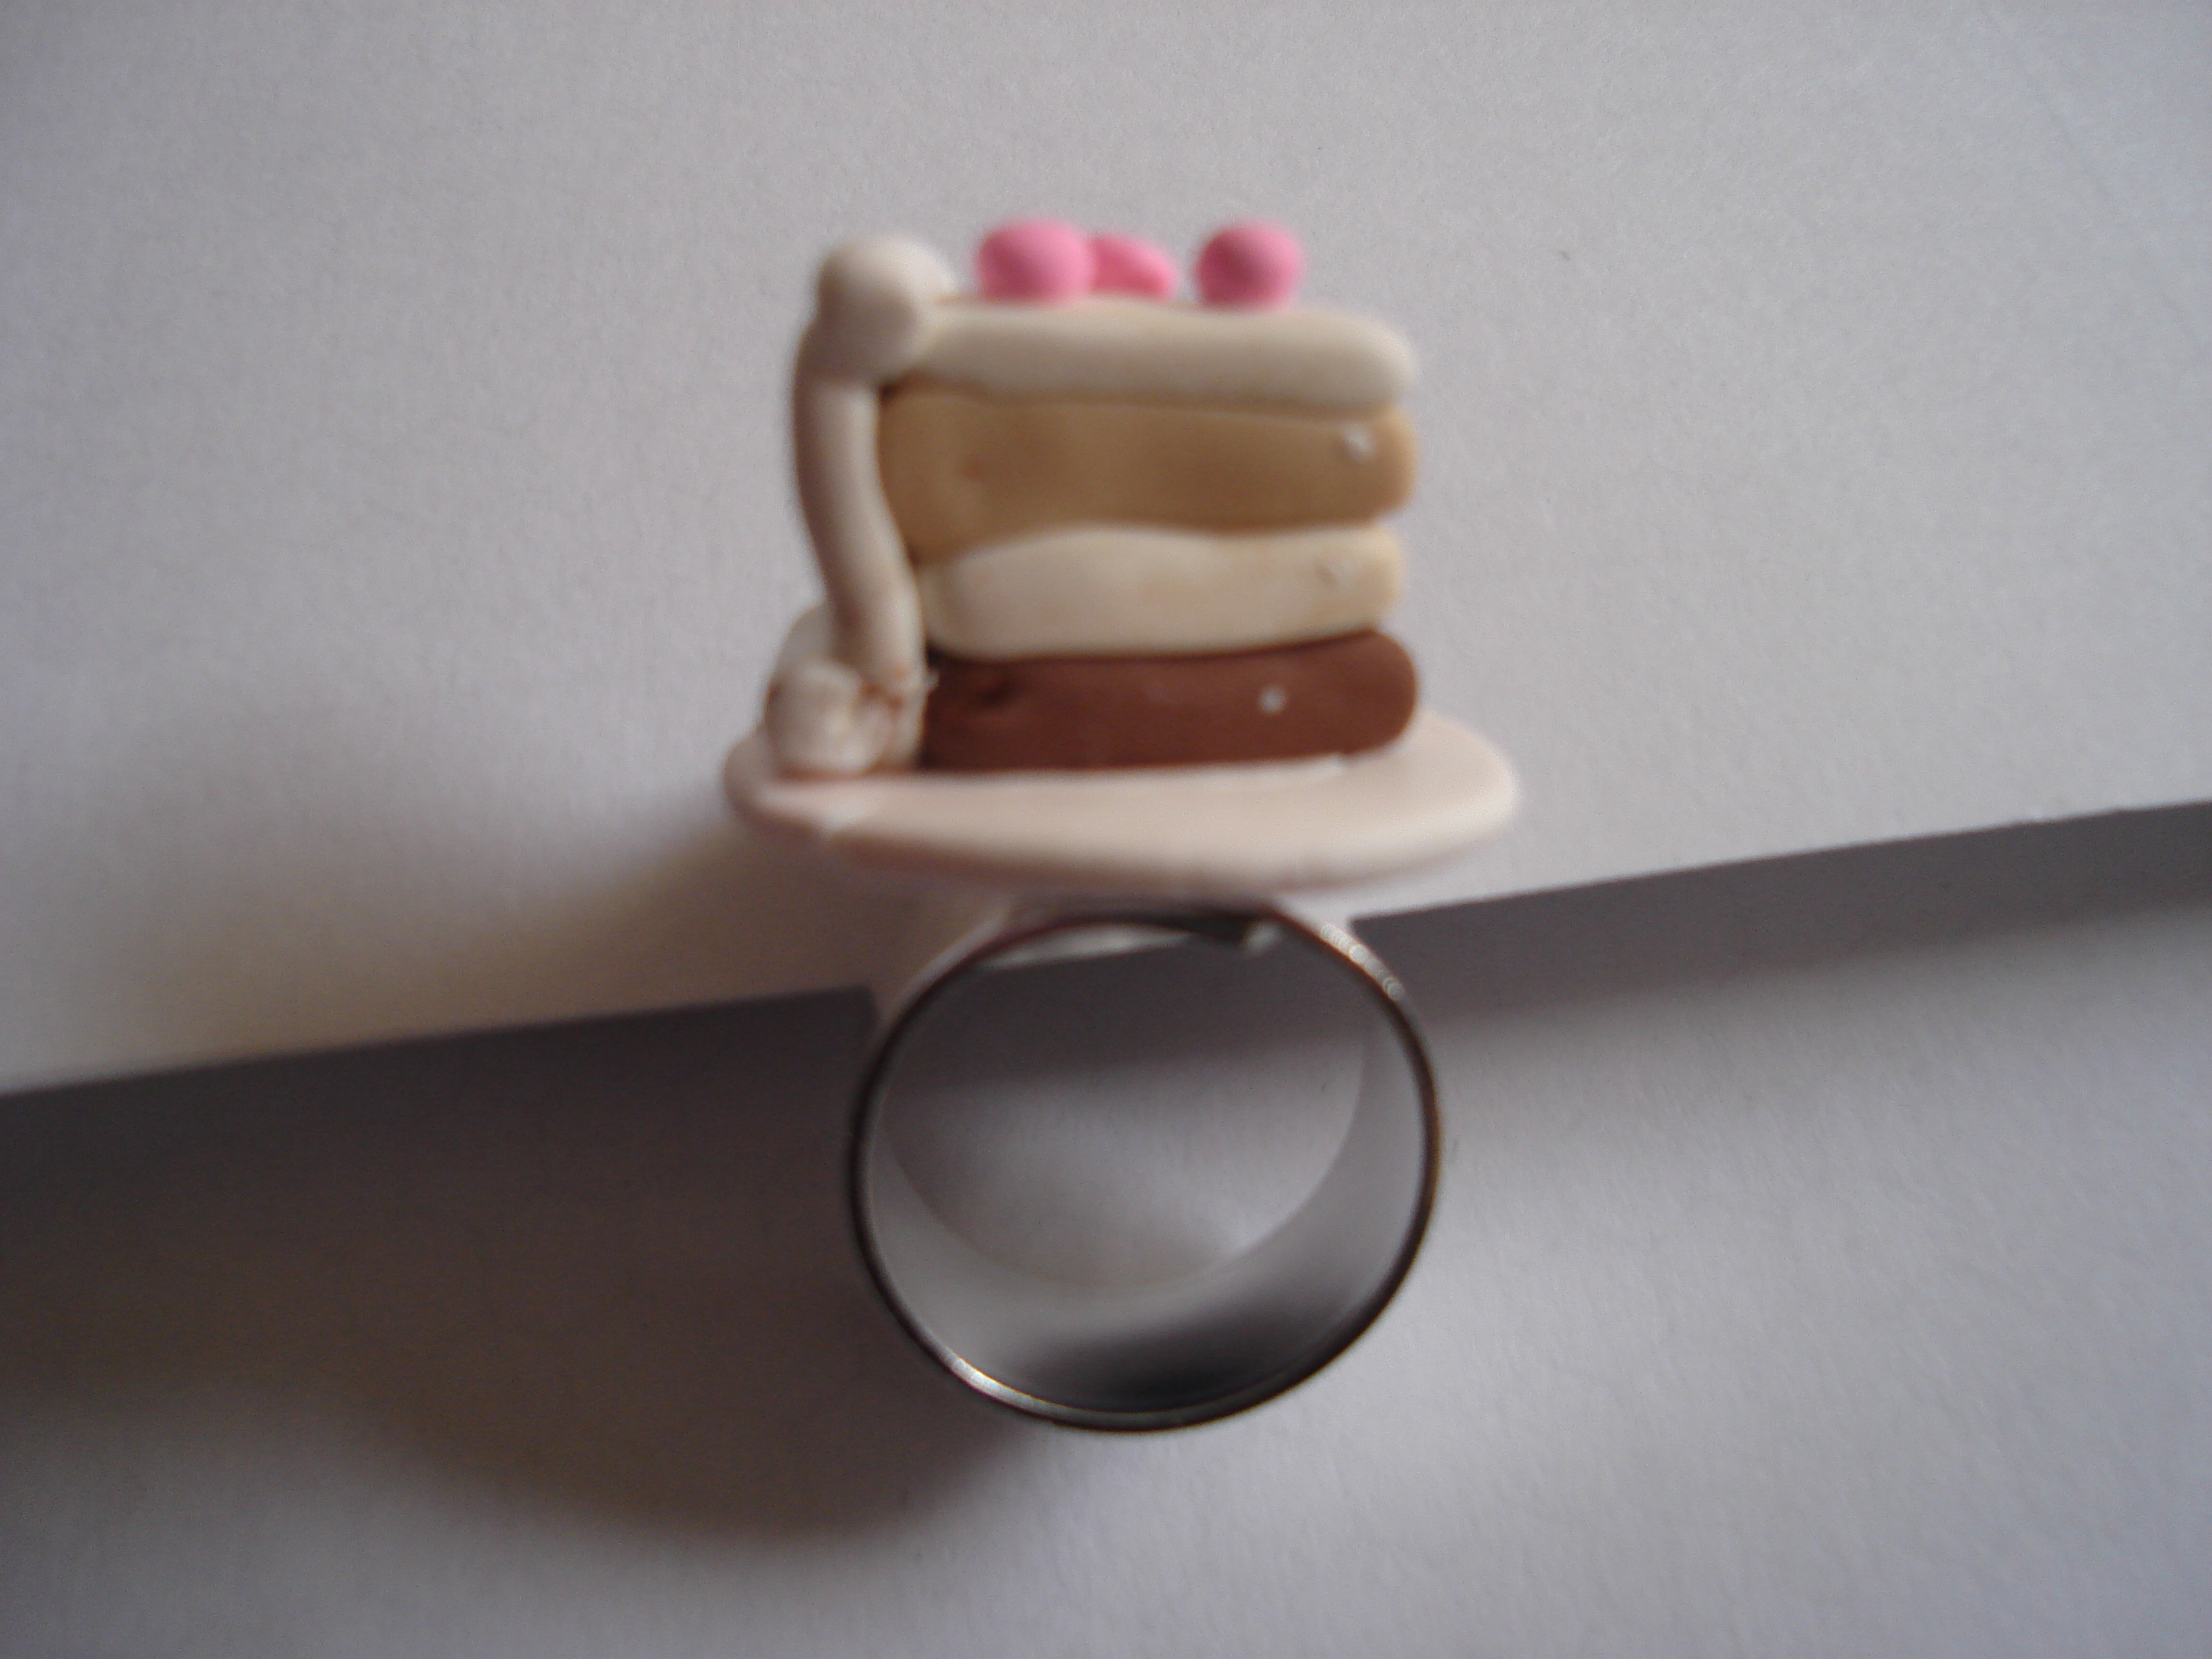
First, we have a "Cake Slice Ring" (yeah... I'm a creative namer....):


A top view for the details:


And what it looks like on my (ugly) hand:


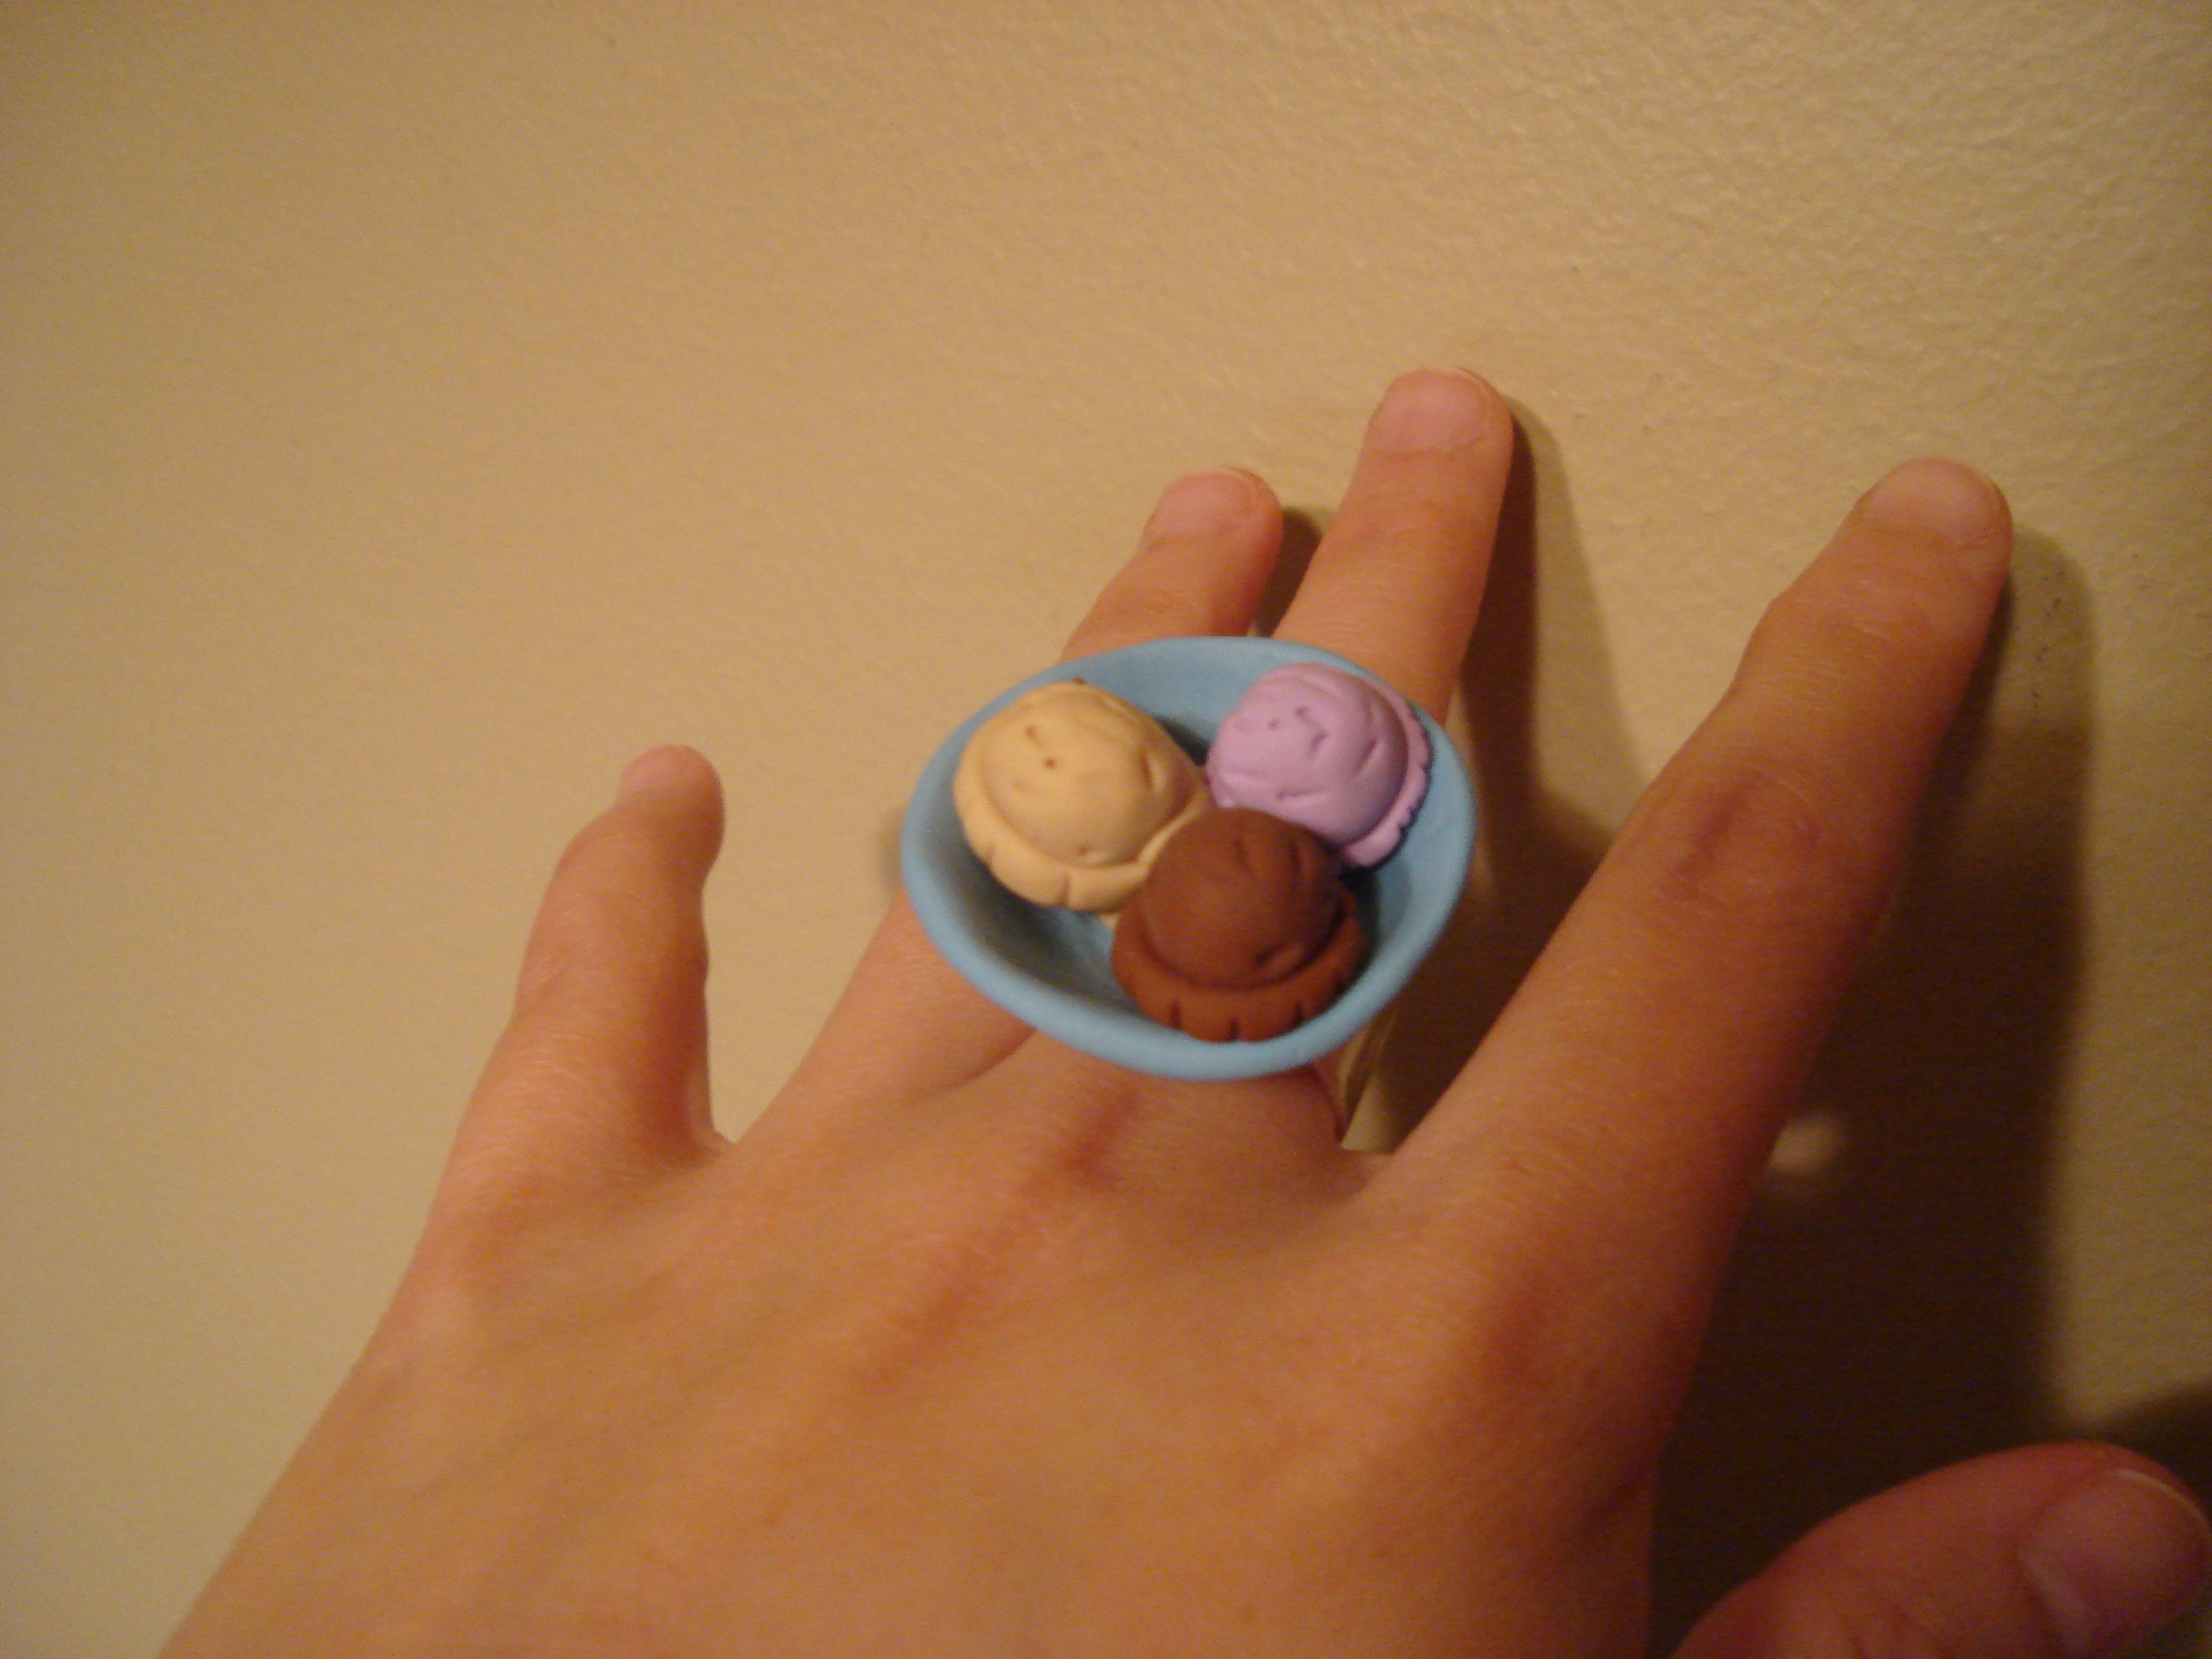
Next up, the "Triple Scoop Ice Cream Bowl Ring":


Top details:


Worn:


I sort of wish I'd had a glass marble of the right size available when I was making this one. I had to freehand the shape of the bowl, so it's not as perfect as my OCD self would have liked.

Thirdly, "Chocolate Cupcake Ring":


Top view... not very exciting for this one:


Worn (it was kind of tall for my taste, but definitely smaller than most cupcake rings I see for sale...):


And lastly, my "masterpiece". By which I mean a 2-piece set :-P

"Chocolate Ribbon Set":


Top view of the ring, just for the heck of it:


Back of the barrette:


The ring worn:


Phew, so many pictures!

Overall, I was quite pleased, despite how long it took me. And my little crockpot worked perfectly as a baking oven! Just pop it on the low setting, stick a thermometer in there to monitor the temperature, and it's ready to go in about an hour :-P Yeah... so it takes awhile to heat up, but then again, it takes me awhile to actually make anything, so it worked out well.

<3

Saturday, January 9, 2010

Winter Knitting 09/10 – Scarf Frenzy! - Update

Now that my present for my Loli mentor has safely arrived in her hands, here's what she got!!

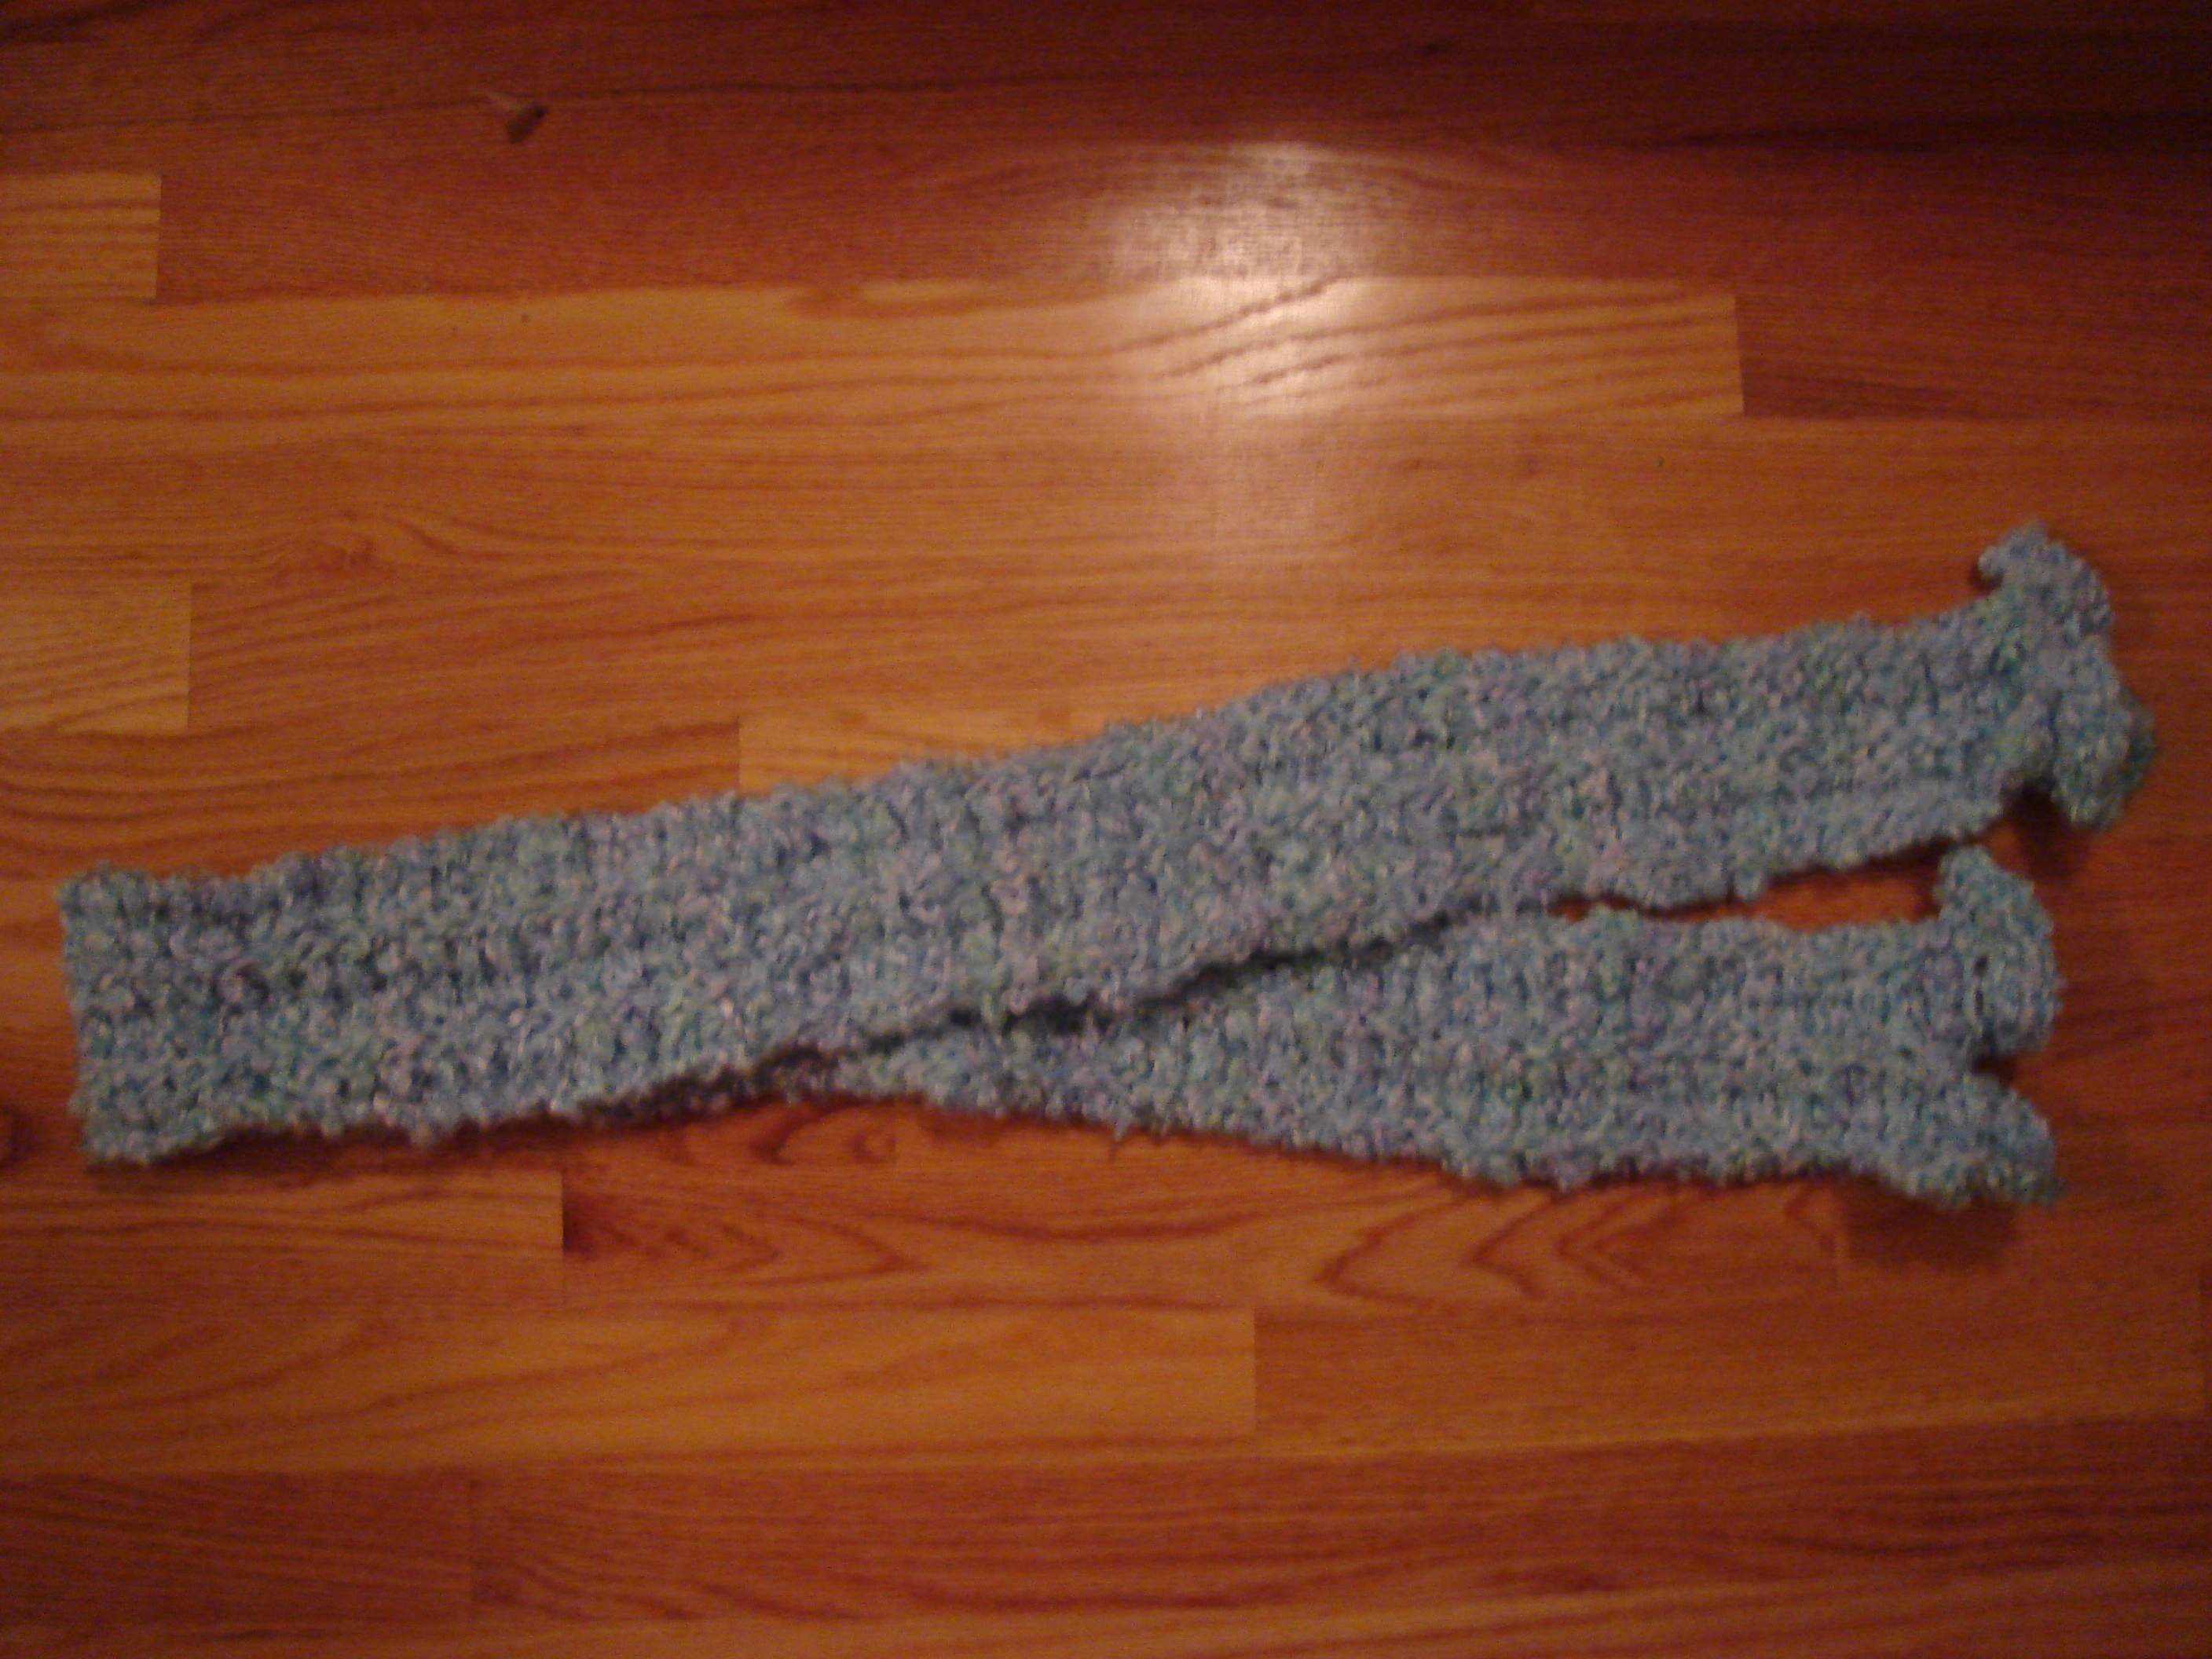
2 scarves, both in the weird sky blue/mint/lavender mixed color of Red Heart Baby Clouds:


This one is a standard rectangular scarf, with fringe on the ends.


This one is in the same style as the ruffle scarves in my previous post.

Additionally, I made her a little broach with dangly felt strawberries (because strawberries are one of her favorite motifs!). Unfortunately, I apparently managed to delete them from my camera before actually downloading them to my computer T_T *le sigh* The only picture I have is one she took when she opened my package... so it doesn't properly illustrate the danglyness of the strawberries... But at least it's something XD


Anyways, I'm glad she got the package safely, and that she likes it!

Upcoming project: Double-knit mittens!! I've actually started them, what, nearing 10 times now, and messed up every time and had to unravel everything. Let's just say converting a cable twist pattern to double-knitting is kind of hard. I've defaulted back to just a flat mitten, and I'll just knit a bow or something separately to sew to it for embellishment <3

Sunday, December 6, 2009

Koha - I [still] LOVE YOU!!!!

Byebye Koha... I wish you didn't have to graduate, but I hope you have fun being a model, or whatever other crazy (or non-crazy, but that's unimaginable with you) things you go on to do... T_T

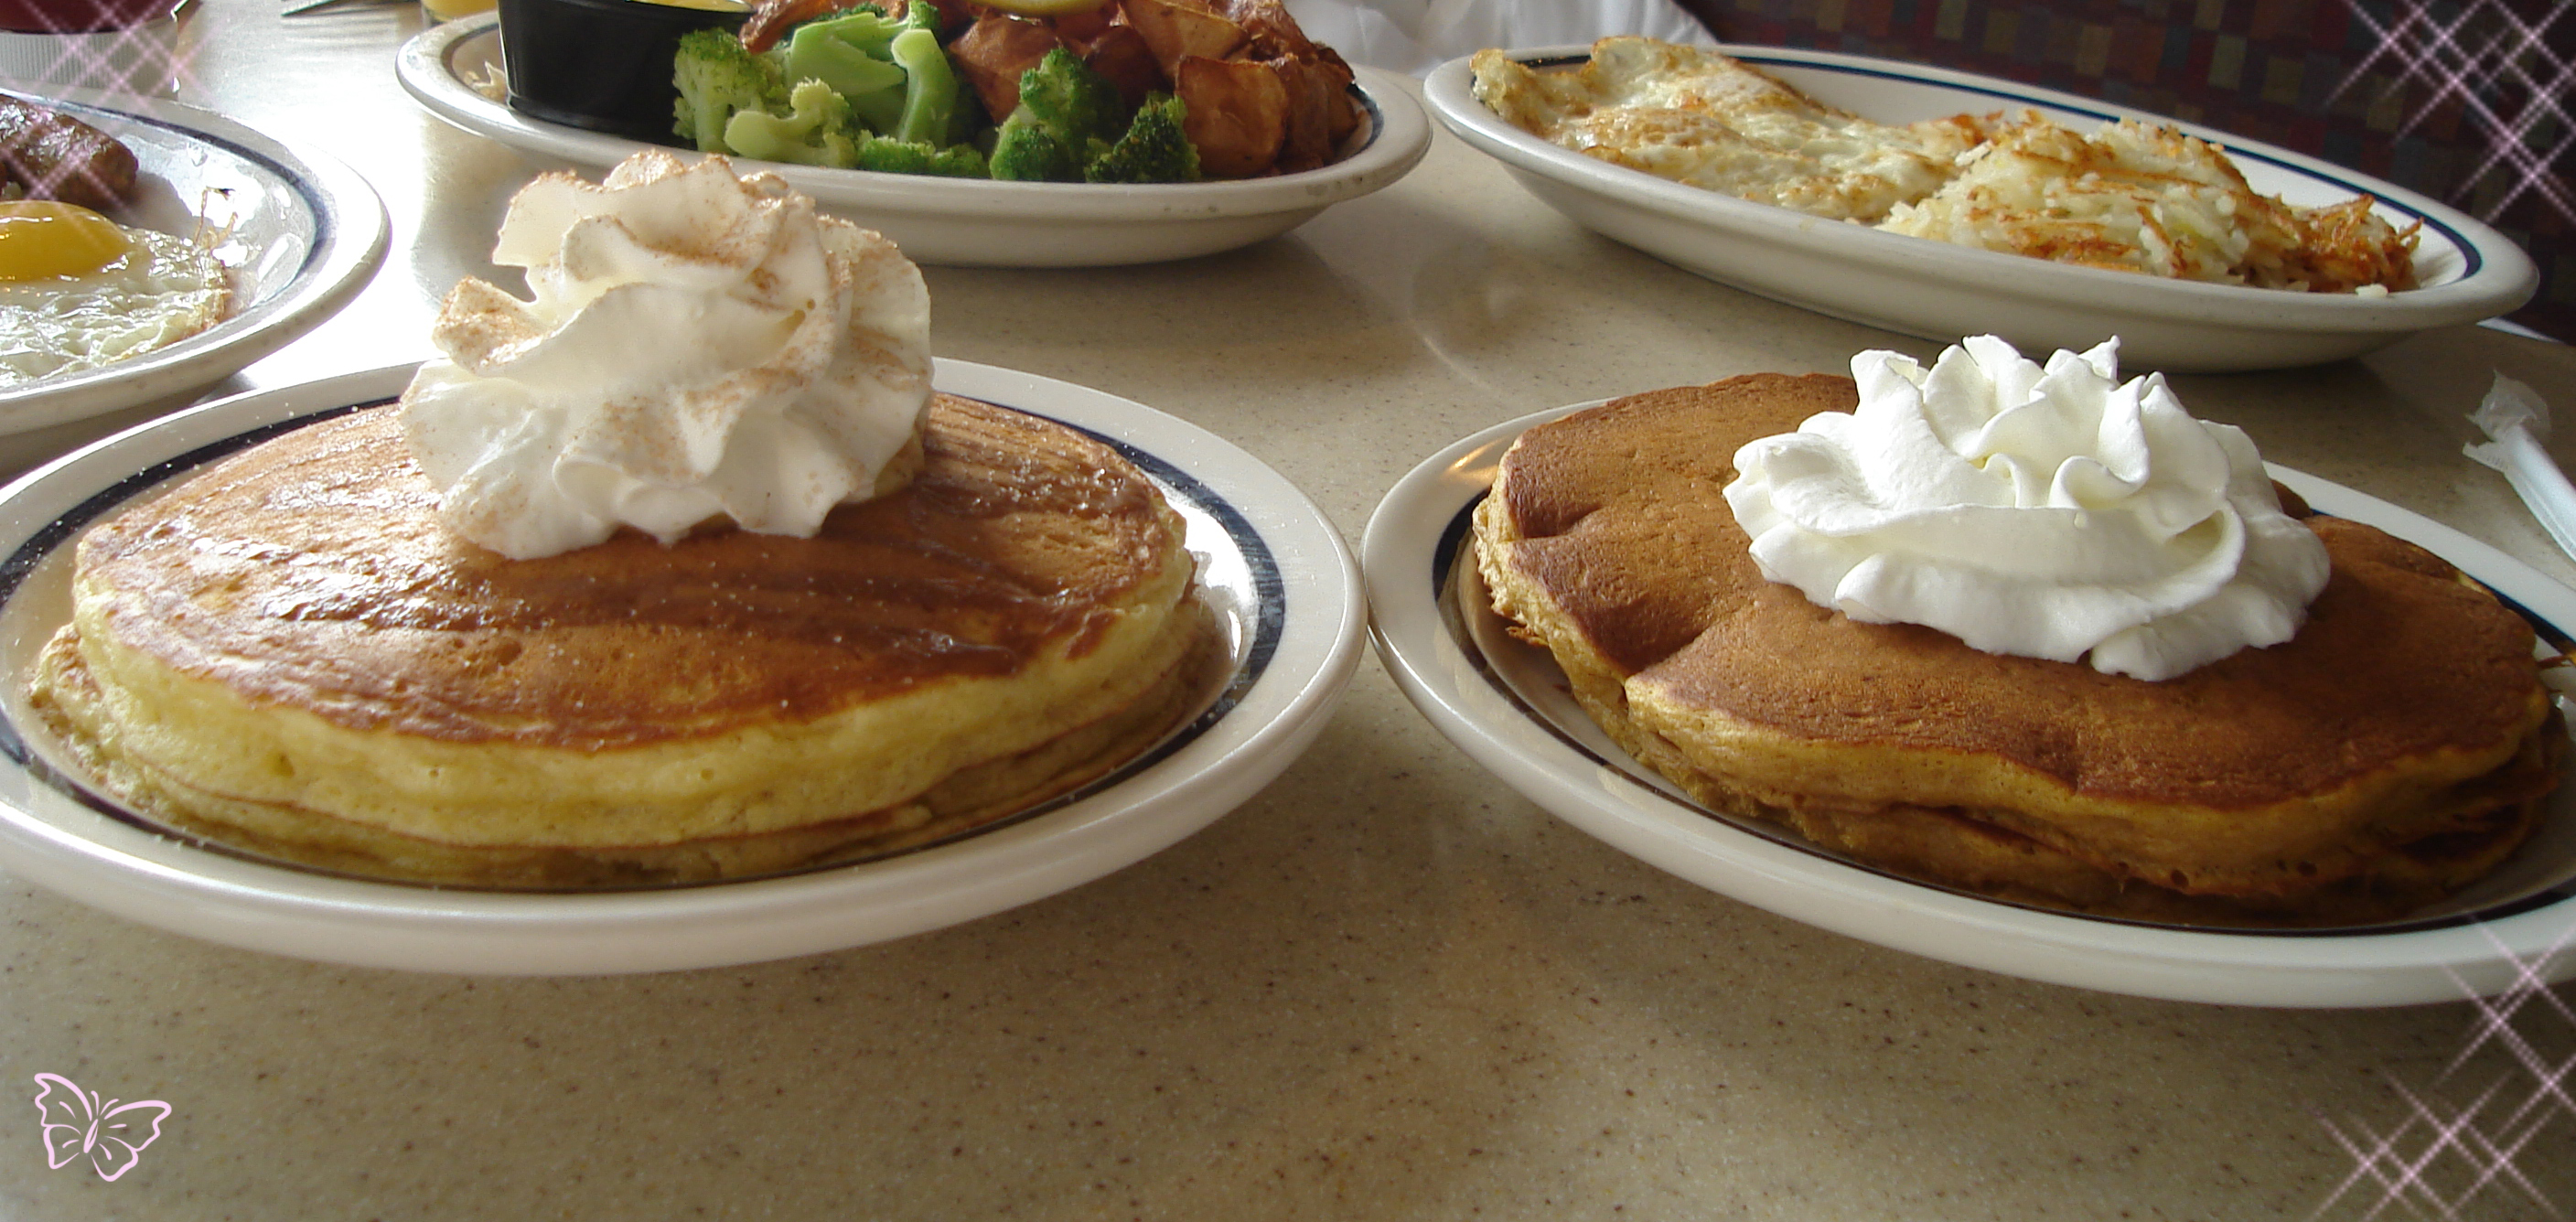
To commemorate her graduation, K-Snow and I ventured out to iHop for some Papancakes and Hapi☆Hapi Sundaes (perhaps with very! berry! strawberry! on top) followed by a Koha song title photo scavenger hunts of sorts, combined with a grocery shopping stop.

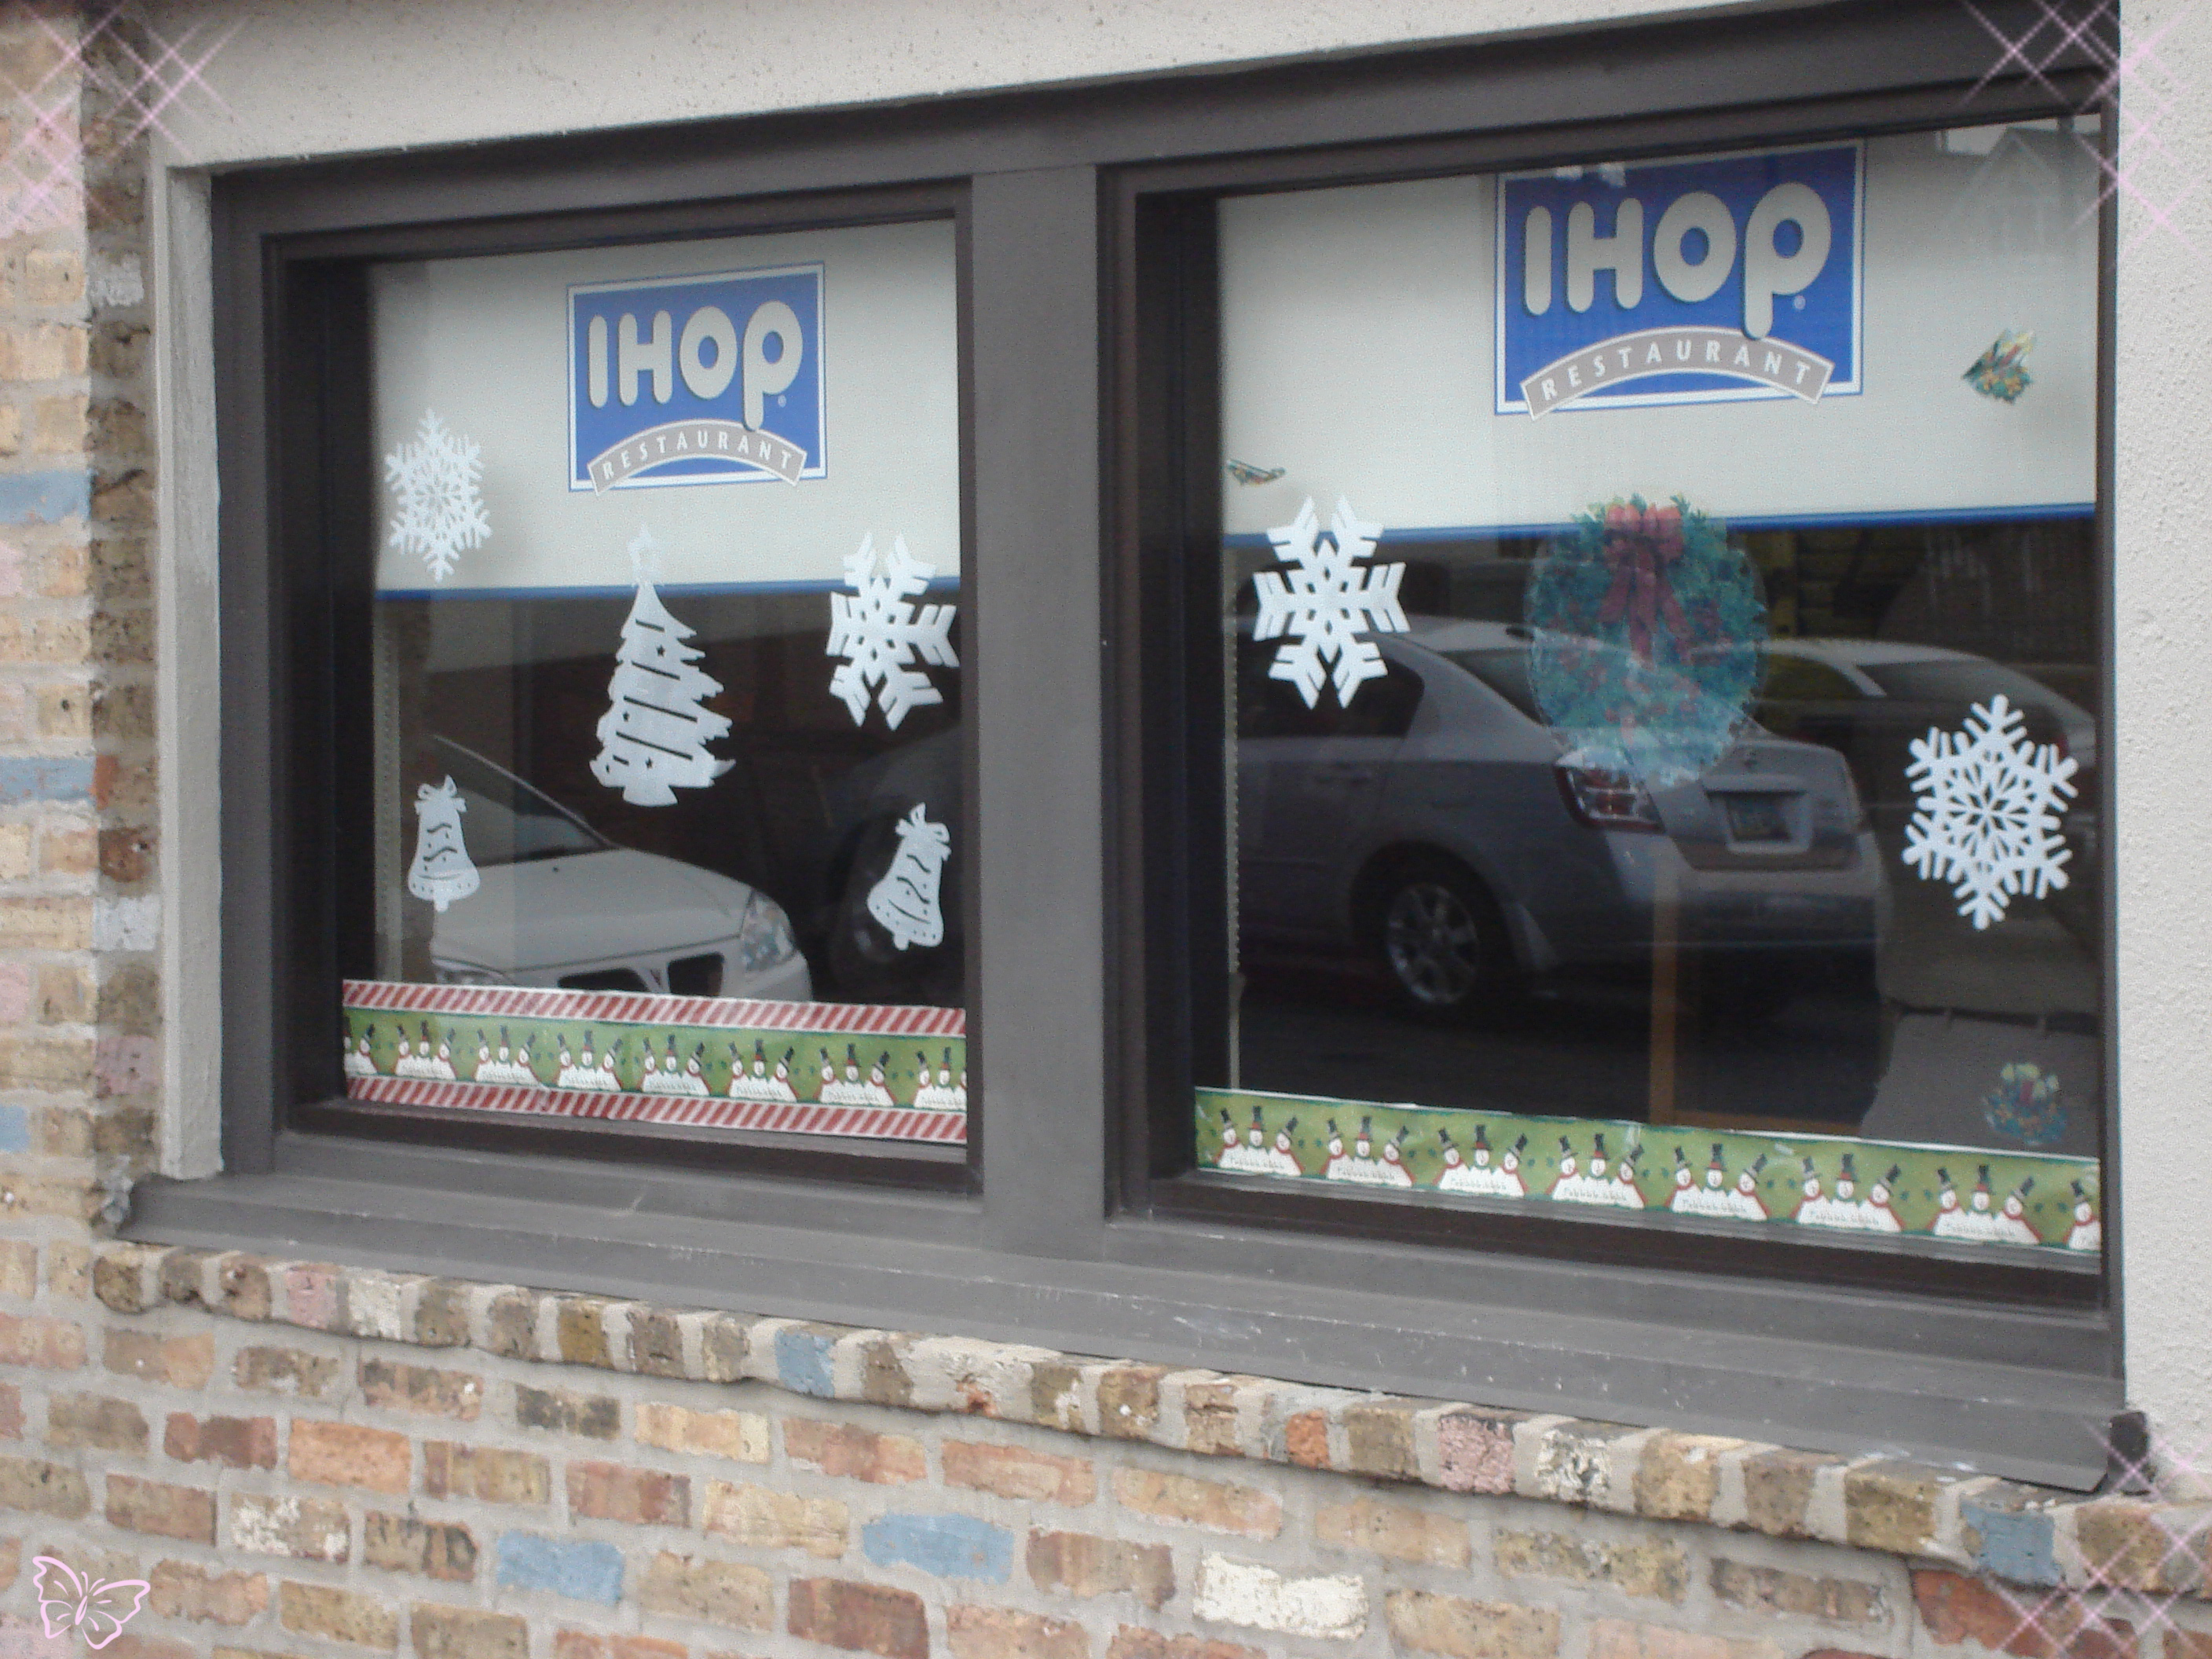
Our first stop was the iHop itself, where we admired the very Kirari to Fuyu street and window decorations.


Followed by an extremely large meal of Papancakes. Their eggnog pancakes were delicious, and K-Snow appeared to enjoy their Pupumpkin Papancakes muchly (along with... an entire tilapia dinner... O_O).


We finished off the meal with a Hapi☆Hapi Sunday (I mean, sundae) with strawberry compote on top!


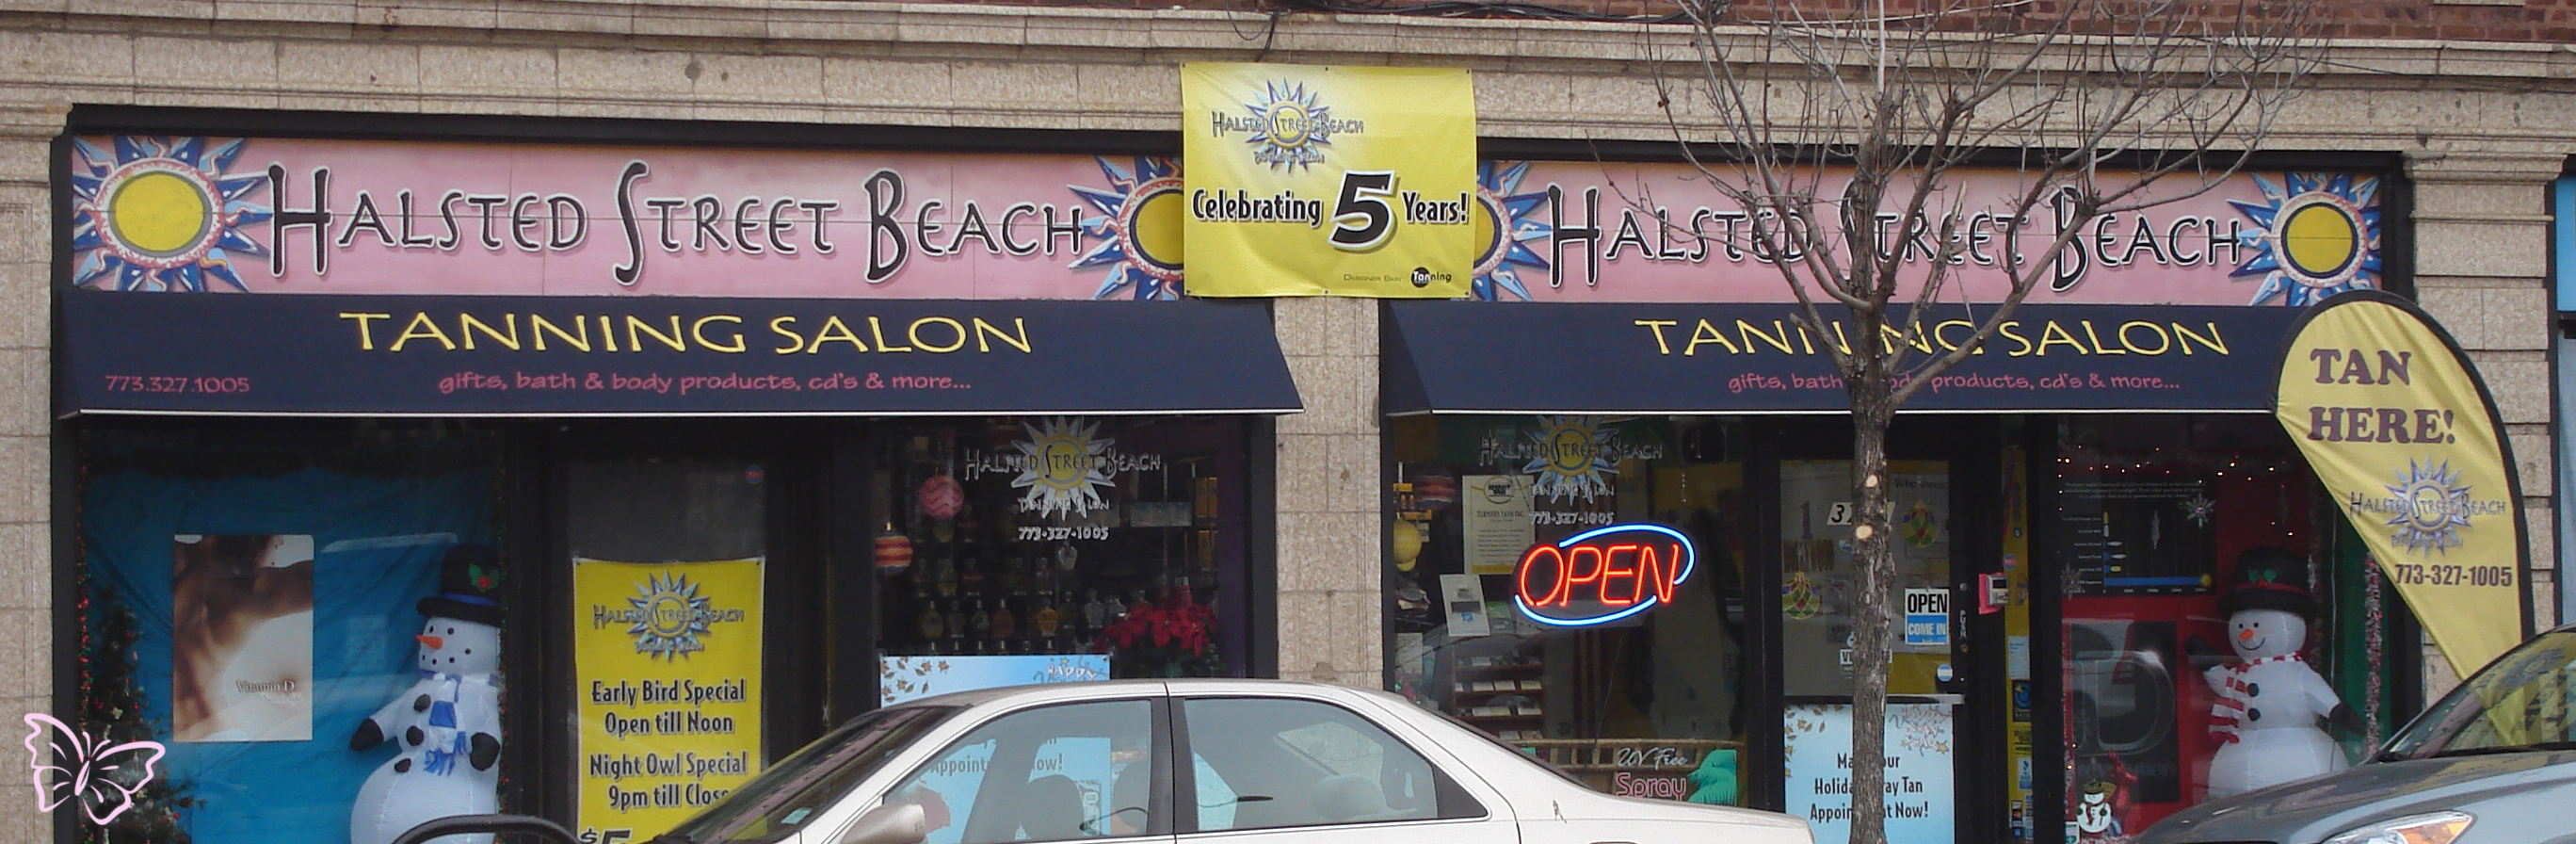
After managing to drag our beached whale selves out of the restaurant, we decided to stop by Whole Foods for some more scavenger hunting and grocery shopping. On the way there, we saw a little shop where you can Tan Tan Ta(a)n! if you so choose.

Can you find all three Tan-s?

We also spotted a Rainbow Pink with an additional Tan for good measure.


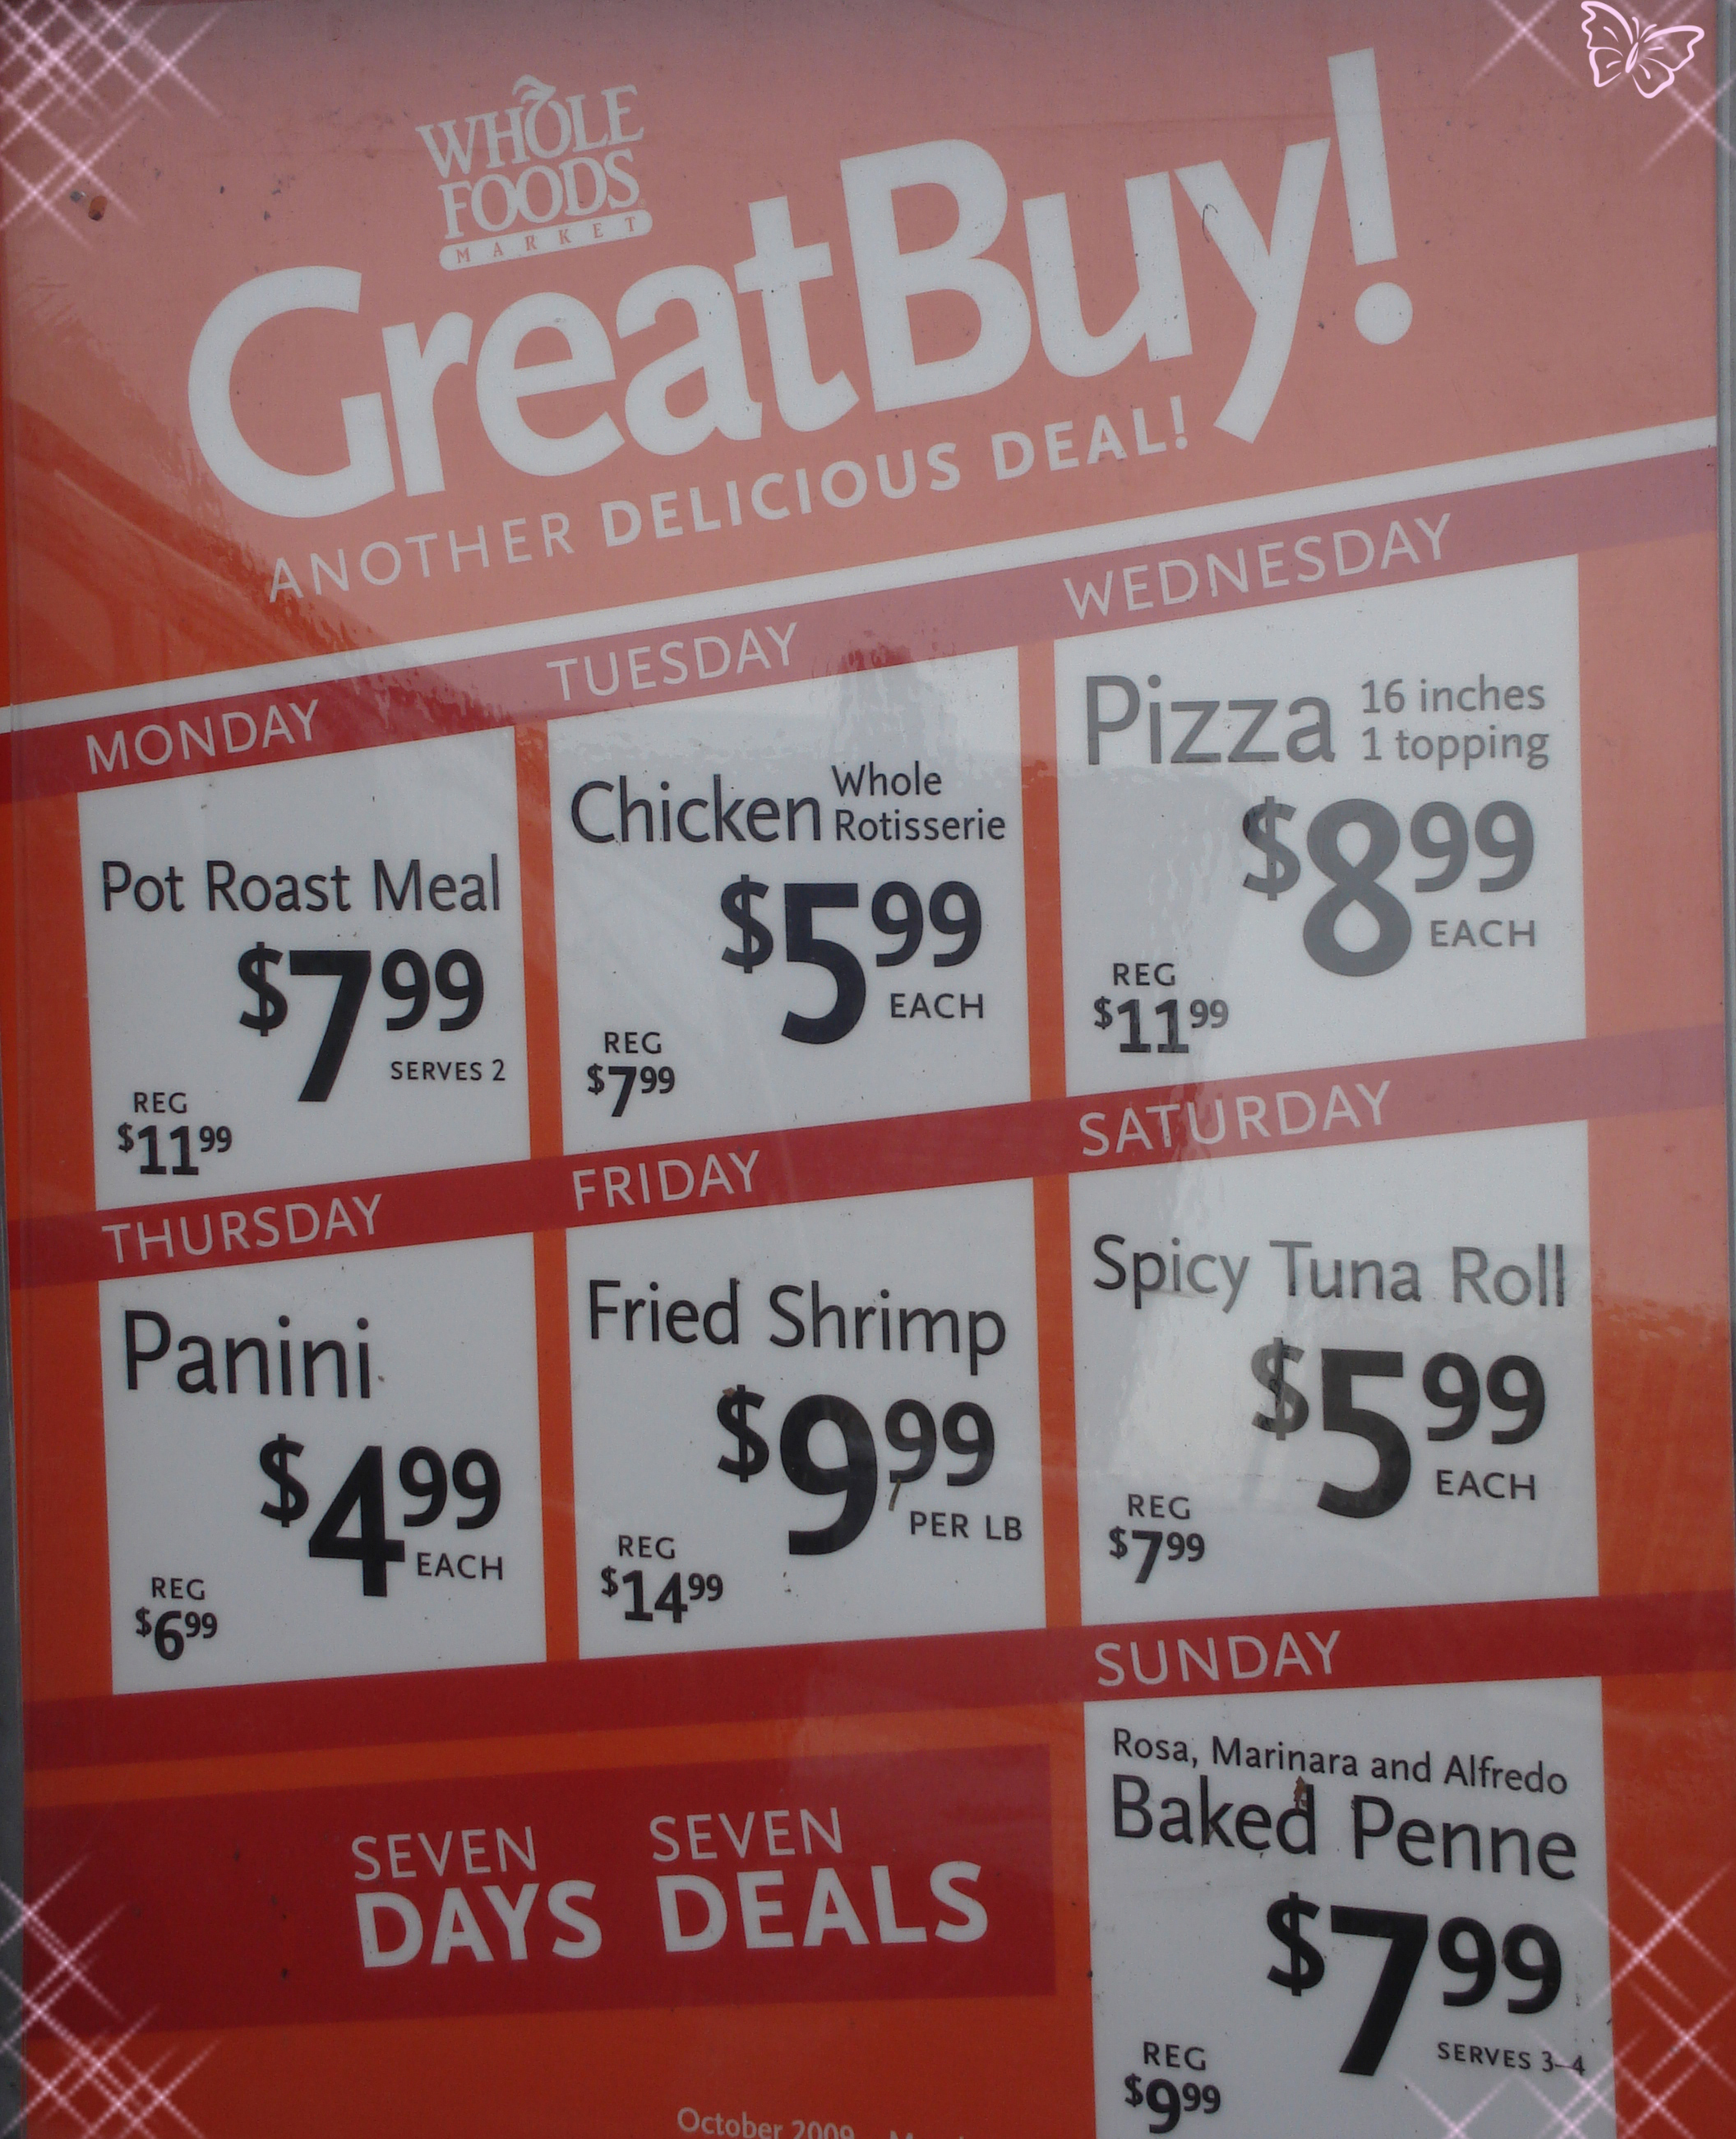
Outside of the Whole Foods, we noticed that they seem to have a special going on EVERYDAY PRECIOUS DAY!!!


Inside the store, we were immediately met with very! berry! strawberry!

Yes, with all those exclamation marks... this giant pile was literally right inside the door...

Whole Foods was a treasure trove for Koha titles (as well as delicious delicious food that we were both too full to be really interested in...).

You can never go wrong with an appetizer of Himawari seeds


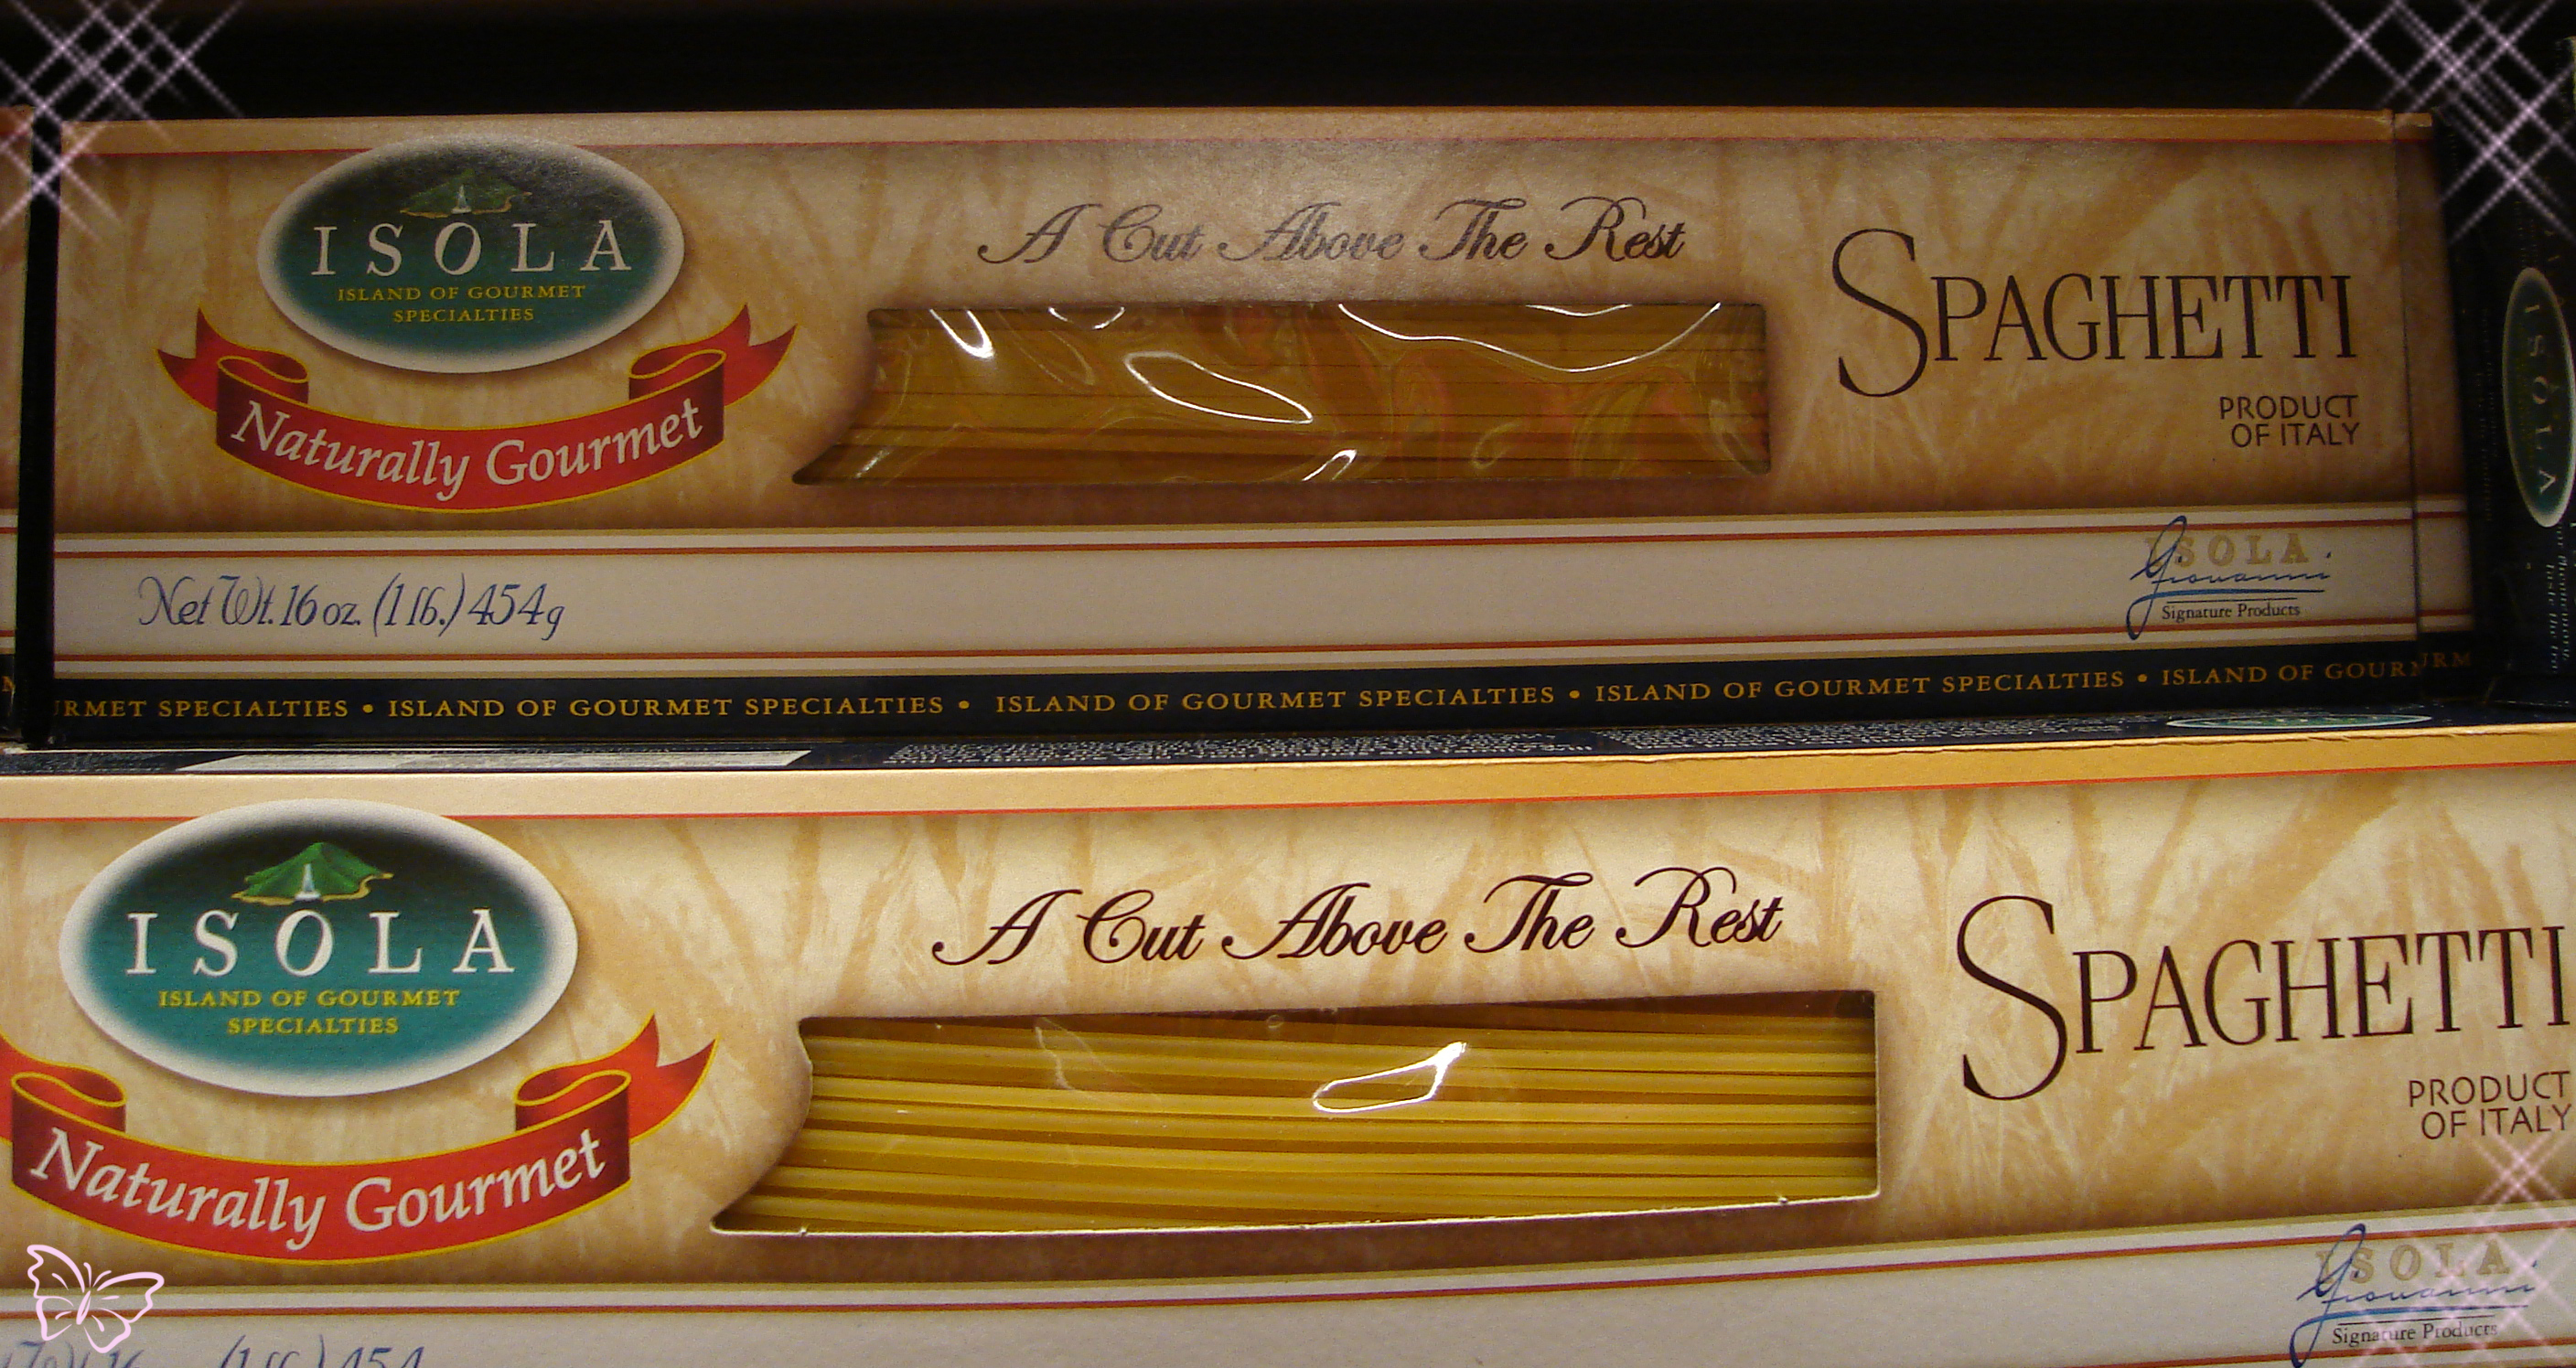
followed by a main course of Spaghetti.


And of course, everything will be great because Whole Foods is dedicated to providing you with SUGAO-flavor all day, everyday:


In addition to edibles, Whole Foods is dedicated to making you feel beautiful with their crazy organic bath salts.... So much so that they felt compelled to stick a Koi Sign in their salt bucket...


Having acquired a stockpile of food, we left the store and headed for a brief stopover in Chinatown, where we found a certain dimsum chef being extremely Happy


And who knew Milky Way condoned gambling?!

(It was better than getting in trouble for looking suspicious while trying to take pictures of the stars on police and fire department buildings/vehicles... >_>)

And now, back to the train station to head on home! What a long day! But oh no, we have to wait for the train :( In the meantime, we spotted some Futari wa NS

Apparently the Chicago L-map makers were big fans!

Oh, and they even managed to incorporate Sansan GOGO into the transportation system!!

(Bus route 330 on 55th Street)

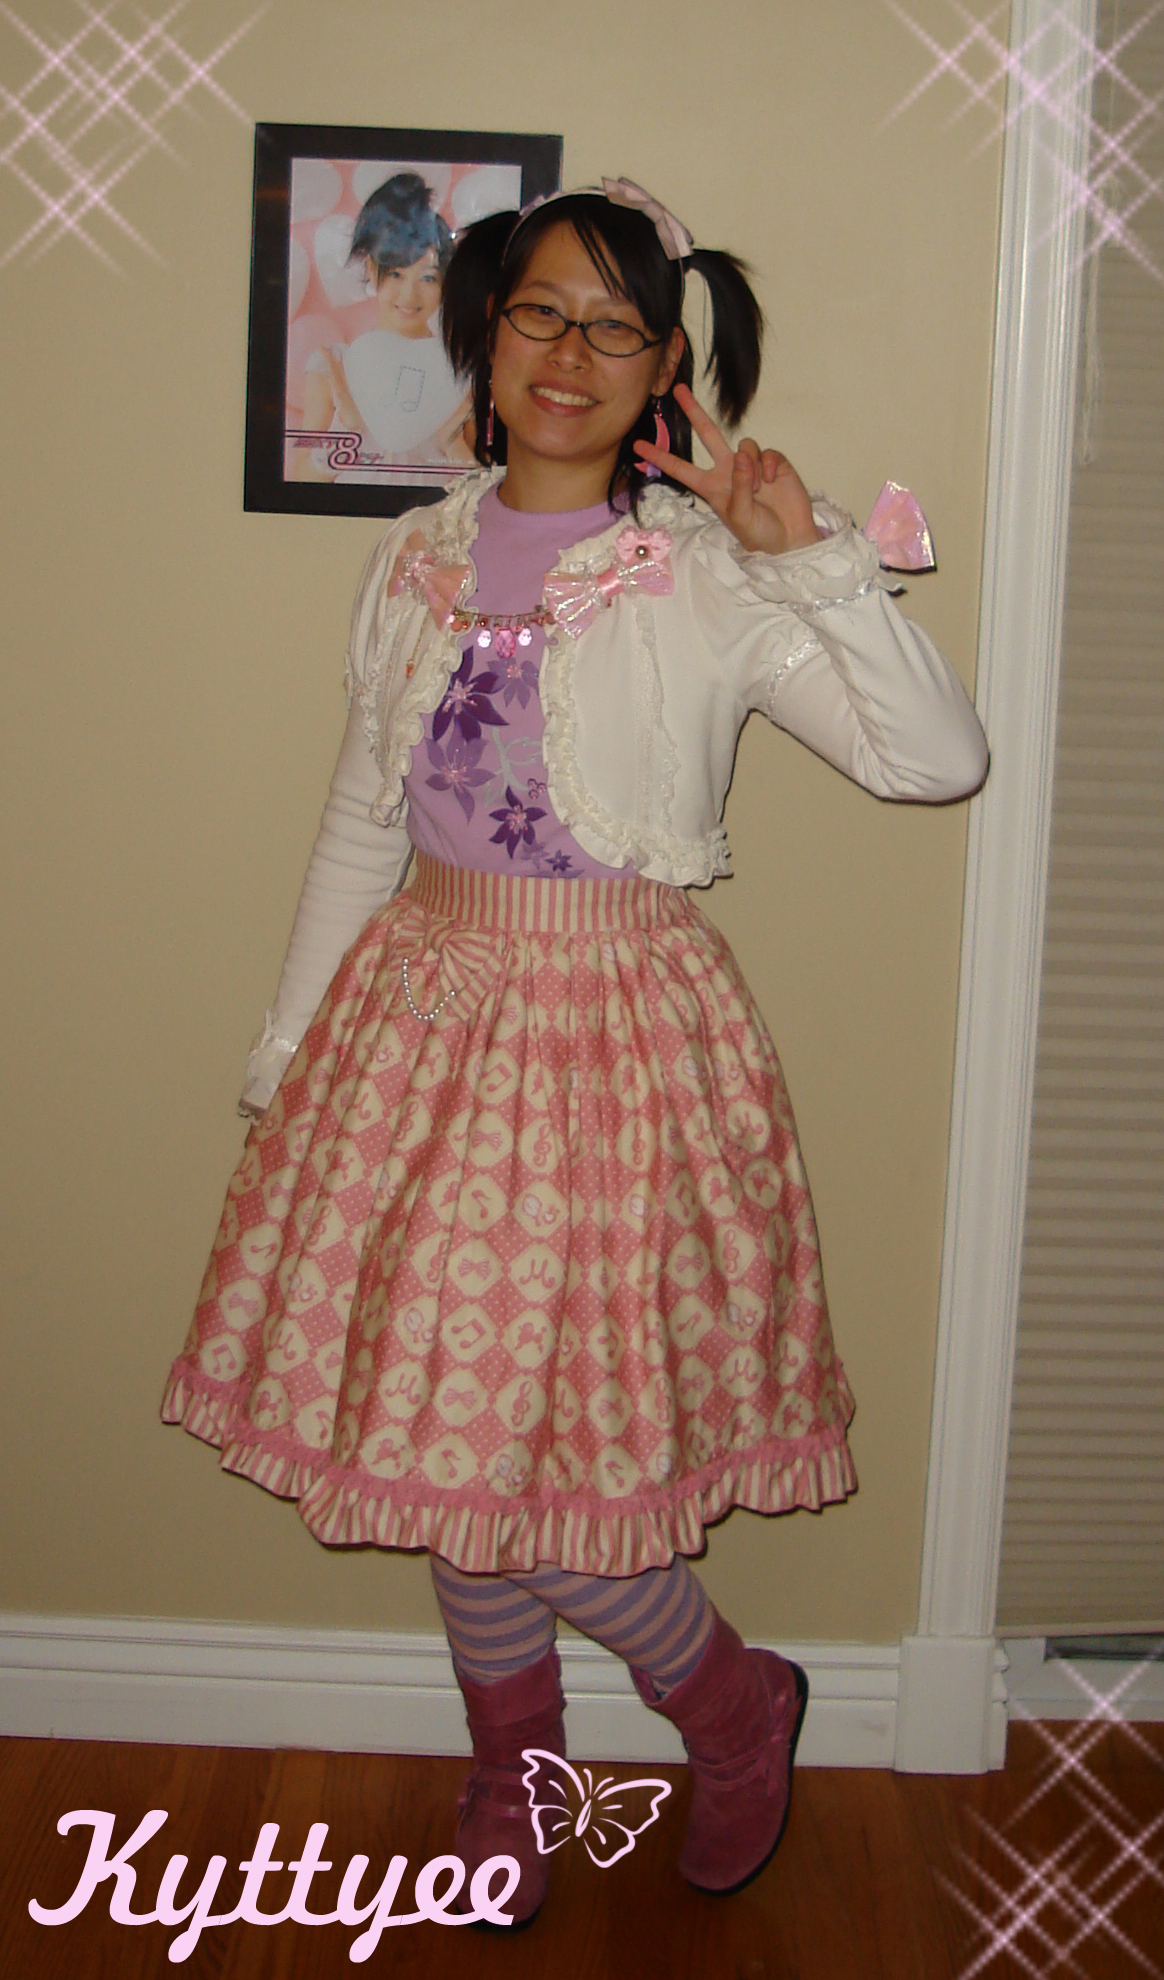
Once home, we took some quick snaps of my Kirari-inspired outfit (Kirari + Lolita = Kiralita?)


Hey look, my skirt's even got some Mizuiro Melody on it! (At least, the melody part...)


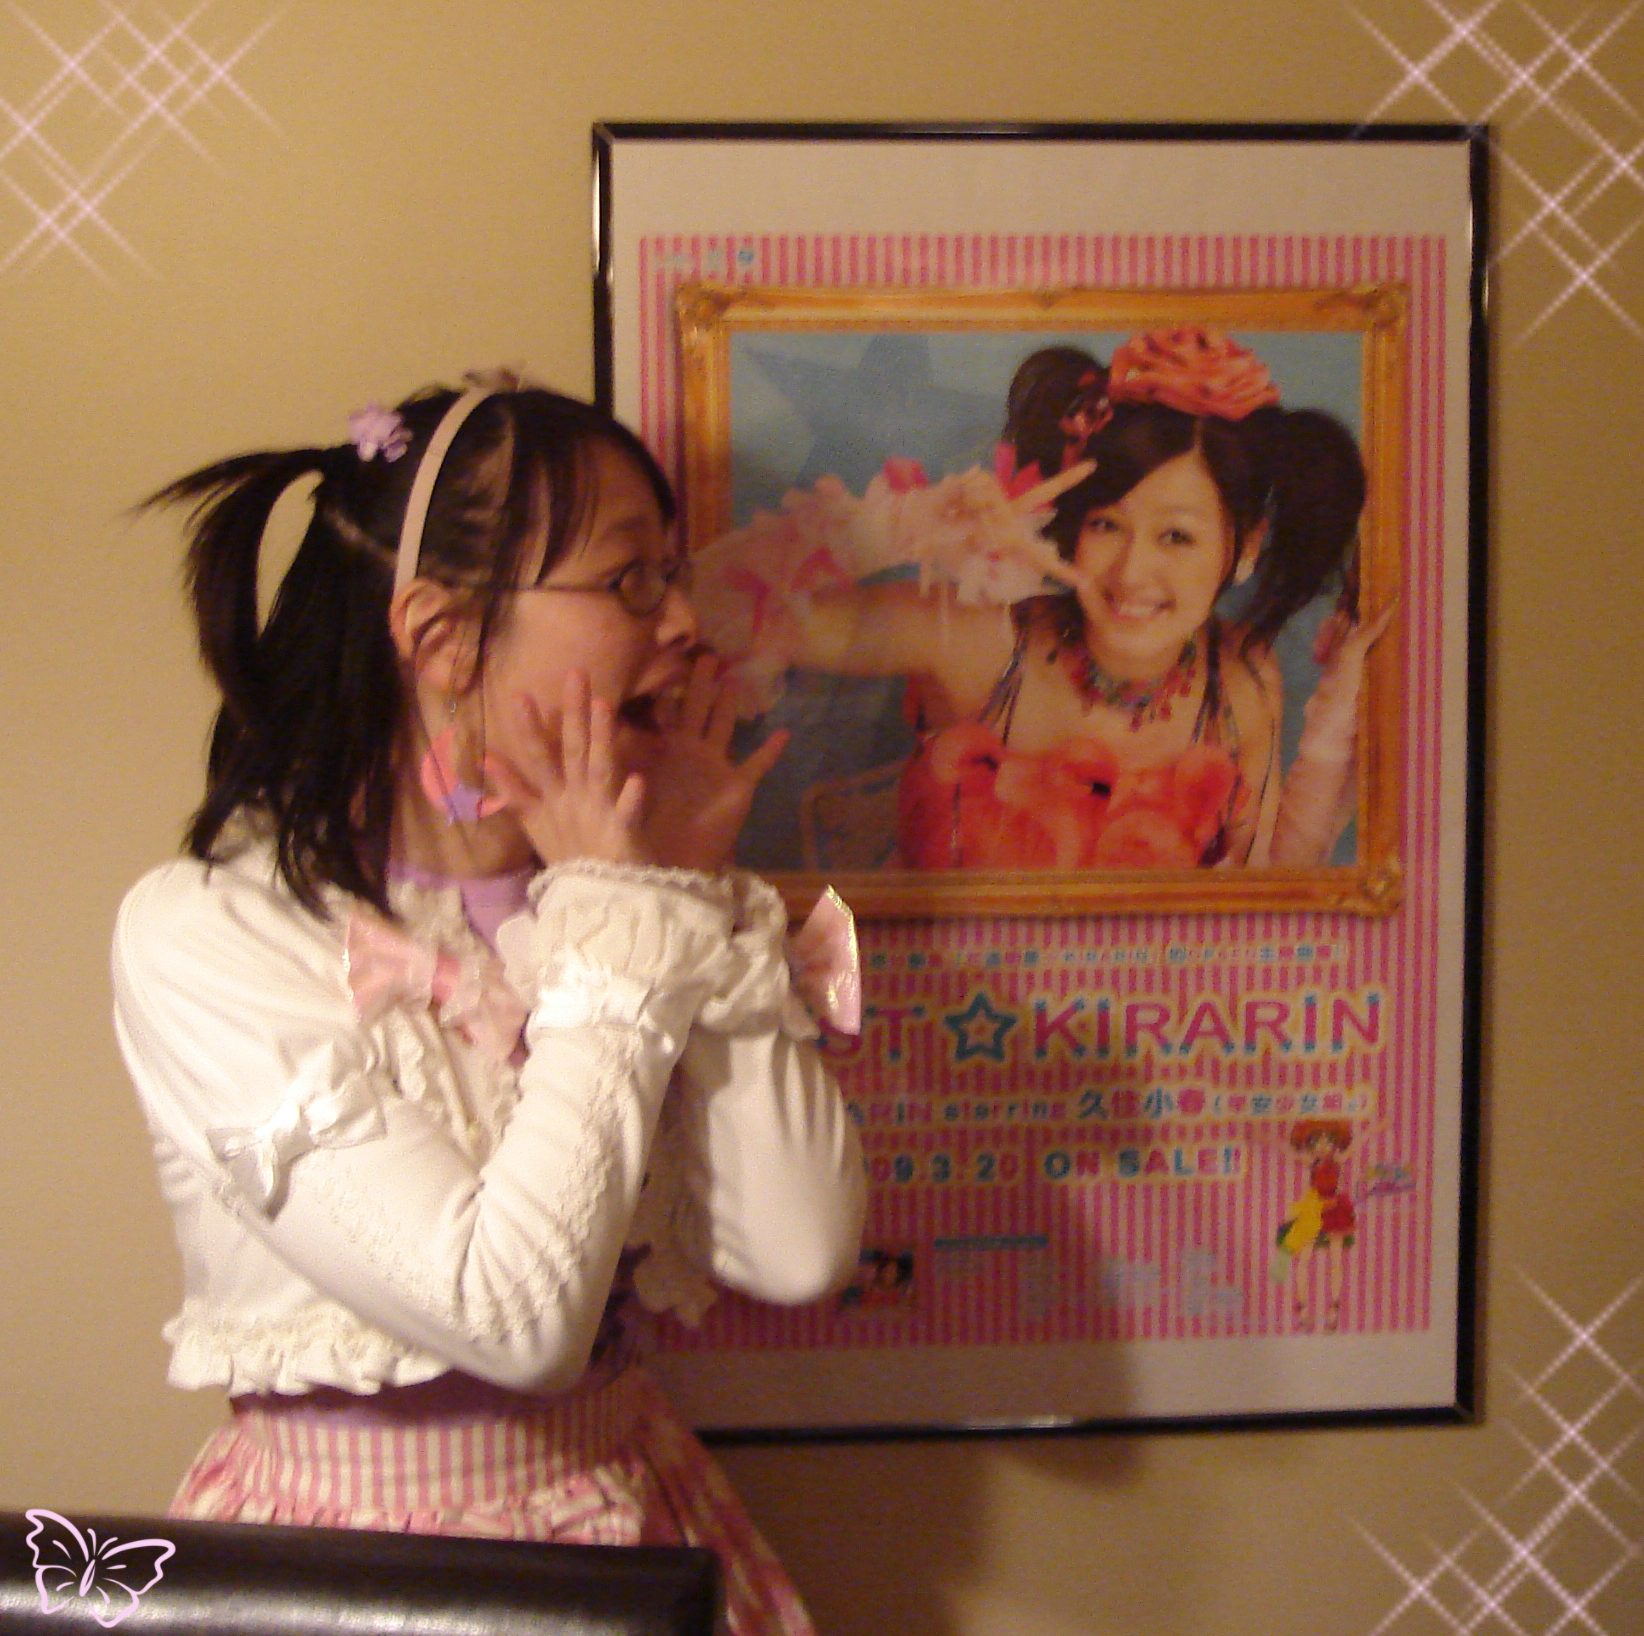
OMG Koha's climbing out of our living room wall!!!


PHEW... what an exciting day! See how much we love you, Koha?! Please keep on doing crazy awesome things, even now that you've graduated!!!

Wa~ MERRY PIN X'mas!