Showing posts with label Jewelry. Show all posts

Saturday, May 28, 2011

ACEN 2011 Cosplay - Amulet Spade [Shugo Chara]

For Day 1 of Anime Central this year, I decided to pull out my old Amulet Spade cosplay (from AX2009). The new thing that I made for this year was her Baton.

And funny enough, it was made from a pair of disposable chopsticks and lots of jewelry wire, a couple hours in the morning before I left for the convention center XD Given the circumstances, I'm pretty proud of how it turned out!!

Here's the baton itself:


And the whole outfit together:


People actually recognized me (more than I expected) and I even got a hug from a super-cute Amu ^_^ The whole day was super fun because it was the first time I wasn't just wandering around ACEN all alone <3 data-blogger-escaped-br="">
(^o^)/ Prism Music~~!!

Tuesday, April 26, 2011

Double Rose Pearl Brooch

Old craft is old, but unfortunately, I don't have enough free time to catch up with editing all my crafts photos T_T

For her Christmas present, I made Oli, my Lolita mentor, a set of rose brooches/hairclips. It was designed a little bit after some of the headpieces made by Victorian Maiden (roses with trailing pearls, etc) but I wanted it to be versatile, so that it could be worn in many ways, with the roses connected and without. I'm super-happy that they turned out well, and that they fit in so perfectly with Oli's wardrobe <3

Anyways, onwards to my photos/explanation of the brooch set!


Sitting innocuously on my bed... this is with the pearl chain attaching the two roses.


And this is with the unchained rose separated from the one where the chain originates.

To get a better idea of what I'm talking about with the chains and whatever, here's a shot of the back of the "main" rose (ie, the one that the chain is attached to).


One end of the pearl chain is permanently attached to the main rose. The other end has a small lobster claw on it, so you could really hook it wherever strikes your fancy. The chain itself consists of two differently-lengthed strands to create a more interesting look when it's fully draped out.

Some arrangement suggestions for dealing with the chain and roses... (and I'm sure Oli's gotten even more creative with them, she's awesome at this sort of thing)!

Single Rose, Short Loop:


Single Rose, Long Loop:


Two Roses, Clustered:


Two Roses, Spread:


I was pretty pleased myself with how they turned out! I was worried they'd stick up too much from the brooch/clip back, because I couldn't trim the stems on the flowers as close as I wanted. Fortunately, that actually worked out well, in that I could build up a couple layers of craft foam to strengthen the attachment point for the brooch/clip back.

Also... Michael's does not sell stemless/millinery flowers... I had to buy an entire flower and clip off the blossom myself. Good thing I bought that pair of diagonal cutters for cutting cable ties... >_>;;

To finish it off... an artistic view of the pearl chain (which I made by hand, by the way... man that took a really long time, but now I'm awesome at making wire loops...).


<3

Friday, October 1, 2010

Fluffy Bow Brooch-Clips

I've fallen in love with puffy fuzzy bow brooches, and decided to experiment a bit with making some of my own! I think even my first efforts turned out quite successful, and they're actually fairly simple and quick to make <3

These are basically just knit bows decorated with ribbon and flatback rhinestones ^o^ I made these out of a fuzzy baby blanket yarn I found at Michael's. I only bought this particular color (blue with pink/lavender/yellow flecks), but after trying it out, I'm definitely going to go buy some in their other colors. I created two, in slightly different sizes!


Second picture was taken in less optimal lighting - the colors are much more accurate in the first photo.

These don't have any clips/safety pins attached yet, because I just ordered a box of combination safety-pin/alligator-clip brooch backs that I plan to use on them. They turned out so cute, I can't wait to make more!!

Next up... Fuzzy brooches in more different shapes! (I want a poodle *o*)

Monday, September 20, 2010

Easy Bracelets and a Drawing!

Life's been hectic lately, with traveling around to conventions, and the school year starting up!! In fact, I just graded six tests yesterday!! Anyways, point is, I just haven't had time to start or complete any crafting projects TT_TT

However, I did find time last night (between each test I had to grade) to make a bunch of easy pearl bracelets. I've been really needing some for Lolita, maid outfit, various cosplays, and could never find anything really suitable in stores. Finally I decided it was just cheaper and easier to string them up myself!


So there you go, a simple but useful project ^_^

I also recently (well, as of almost 2 months ago) promised a friend that I'd draw a picture for him, and I finally finished and inked it last night! No color, because I'm not very good with Copics yet ^_^;;


Yaaay!!! Hopefully I'll get enough practice and accumulate enough colors soon so I can do another picture that actually has color!!

~~K

Monday, July 5, 2010

Polymer Clay - Bows and Bears!!

I had some extra time no my hands recently, so I made another batch of polymer clay trinkets. Specifically, little clay ribbon bows and some teddy bears!

Ribbon Bows

I made them with the original intention of glueing them onto ring bases, like these. However, I've got a couple of loose ones laying around that I'm considering doing something else with (turning into just a clip-on charm, or maybe earrings/necklace). Anyways, here are the finished rings - two colors: lavender and turquoise!


I'll be trying different styles of bows next (maybe ones without the trailing tails).

Teddy Bears

Aaaand teddy bear charms!! I actually came up with this by accident while trying to make something else... it ended up very blobby, and for some reason it made me think of teddy bears, so with some modification of the failed object, I came up with a bear design!!

These were not made from coloured clay, but instead hand-painted afterwards. I have dark pink and purple bears at the moment, all in the form of clip-on charms for versatility (or something). I might make some more and actually put them on necklaces as pendants, or on cell phone charm straps.


I had originally some white ones too, but the glaze I've been experimenting with is an oil-based clear polyurethane. I'm guessing it's something about the oil, but on the white bears, it dried sort of yellowish, which became really obvious in the more concentrated regions in crevices and such, so I decided to just leave those be (they can join my collection of failed clay objects).

I'll be putting these (and subsequent duplications/incarnations of them) in my Etsy shop soon ^.^ And next, I'll have yet another sewing post, since I just finished a skirt last night!

Friday, May 7, 2010

Strawberry Frenzy - Jewelry Set

I'll be attending Anime Central 2010 this year (it's coming up soon!) and I'm walking in the fashion show. The designer I'm working with has me wearing a Country Lolita outfit with a strawberry motif. While she is providing the dress, a matching purse, and a necklace, I was asked to provide some other accessories of my own.

So I decided to start off by making a ring and some earrings to go with the outfit!

I've been experimenting with making plastic jewelry from Shrinky Dinks, and while I've had varying levels of success, I figured they would be the way to go for making some simple plastic strawberry pieces. It took a couple of tries to figure out which colors to use (because they get darker when the shrink plastic is cured) as well as how much to scale up the final size that I wanted (because it's not exactly 3X like the instructions say it is).

Here's the final setup, with one cured piece and two pre-cured pieces:
StrawberrySet01.jpg

I used Sharpie permanent markers to draw and color the pieces first. Then I cured them in a toaster oven, and drew on the seeds afterwards using a black Sharpie. The holes in the earrings were punched before curing, using just a single-hole puncher.

I then added some wire and earring findings (wire was to make the strawberries face the right way), and glued a ring base onto the back of the unpunched strawberry.
StrawberrySet02.jpg

TADAA!!

The backs are a bit rough, because the plastic got stuck to the paper I had it on in the oven, which had some lines. Those lines unfortunately transferred onto the plastic. And Shrinky Dinks sometimes end up curling up on themselves while they're curing, and while usually they unroll eventually, the Sharpie sort of melted off a little onto the backs, so there's random patches of red and green on the backs of a couple of the pieces. But nobody's looking at the backs anyways, especially not while I'm up on the stage.

So all in all, I'm quite pleased!

Next in line is a set of wristcuffs and sock toppers with felt strawberry dangles!

(And of course, I need to somehow find time to finish my cosplay(s)...)

Friday, March 19, 2010

Deco Pearl Headphones

So, inspired by Violet LeBeaux's deco activities, specifically this tutorial, I decided to celebrate my completion of all my final projects by decorating my own headphones.

I started out with an old set of over-the-ear headphones I've had for a couple years now.  They're Panasonics, and the sound is still nice, but since I carry them around in my backpack, they're a little bit beat up ^.^;;  I had some really pretty resin roses that I got from Etsy, so I decided to incorporate them along with some old "pearl" beads I had laying around.

And the result:


Now, in person, you can still see the original ring of blue that I put the pink pearls over, so if I did this again, I would paint that part silver to match the rest, or pink or something NOT NEON BLUE. But overall, I'm pretty pleased with how it worked!

I put the rose on first, so I could center it, and then put the ring of pink pearls around it (on top of the original neon blue ring). And then I filled in the space between the rose and the pink with small white pearls. I'm actually glad it didn't come out looking like a gloopy mess (yay for clear-drying epoxy ^.^;;) because it was a mess trying to dip each tiny pearl in glue and then get it onto the headphone. I finally decided to just put the glue on the headphone, wait for it to get tacky, and then pour the pearls on top and maneuver them into position. That worked much better ^.^;;

So yes... DECO SUCCESS!! Now I kind of want to do this to everything I own, but I used up all my pink pearls on this >.< Time to buy more!

Tuesday, January 12, 2010

My Sweet Tooth

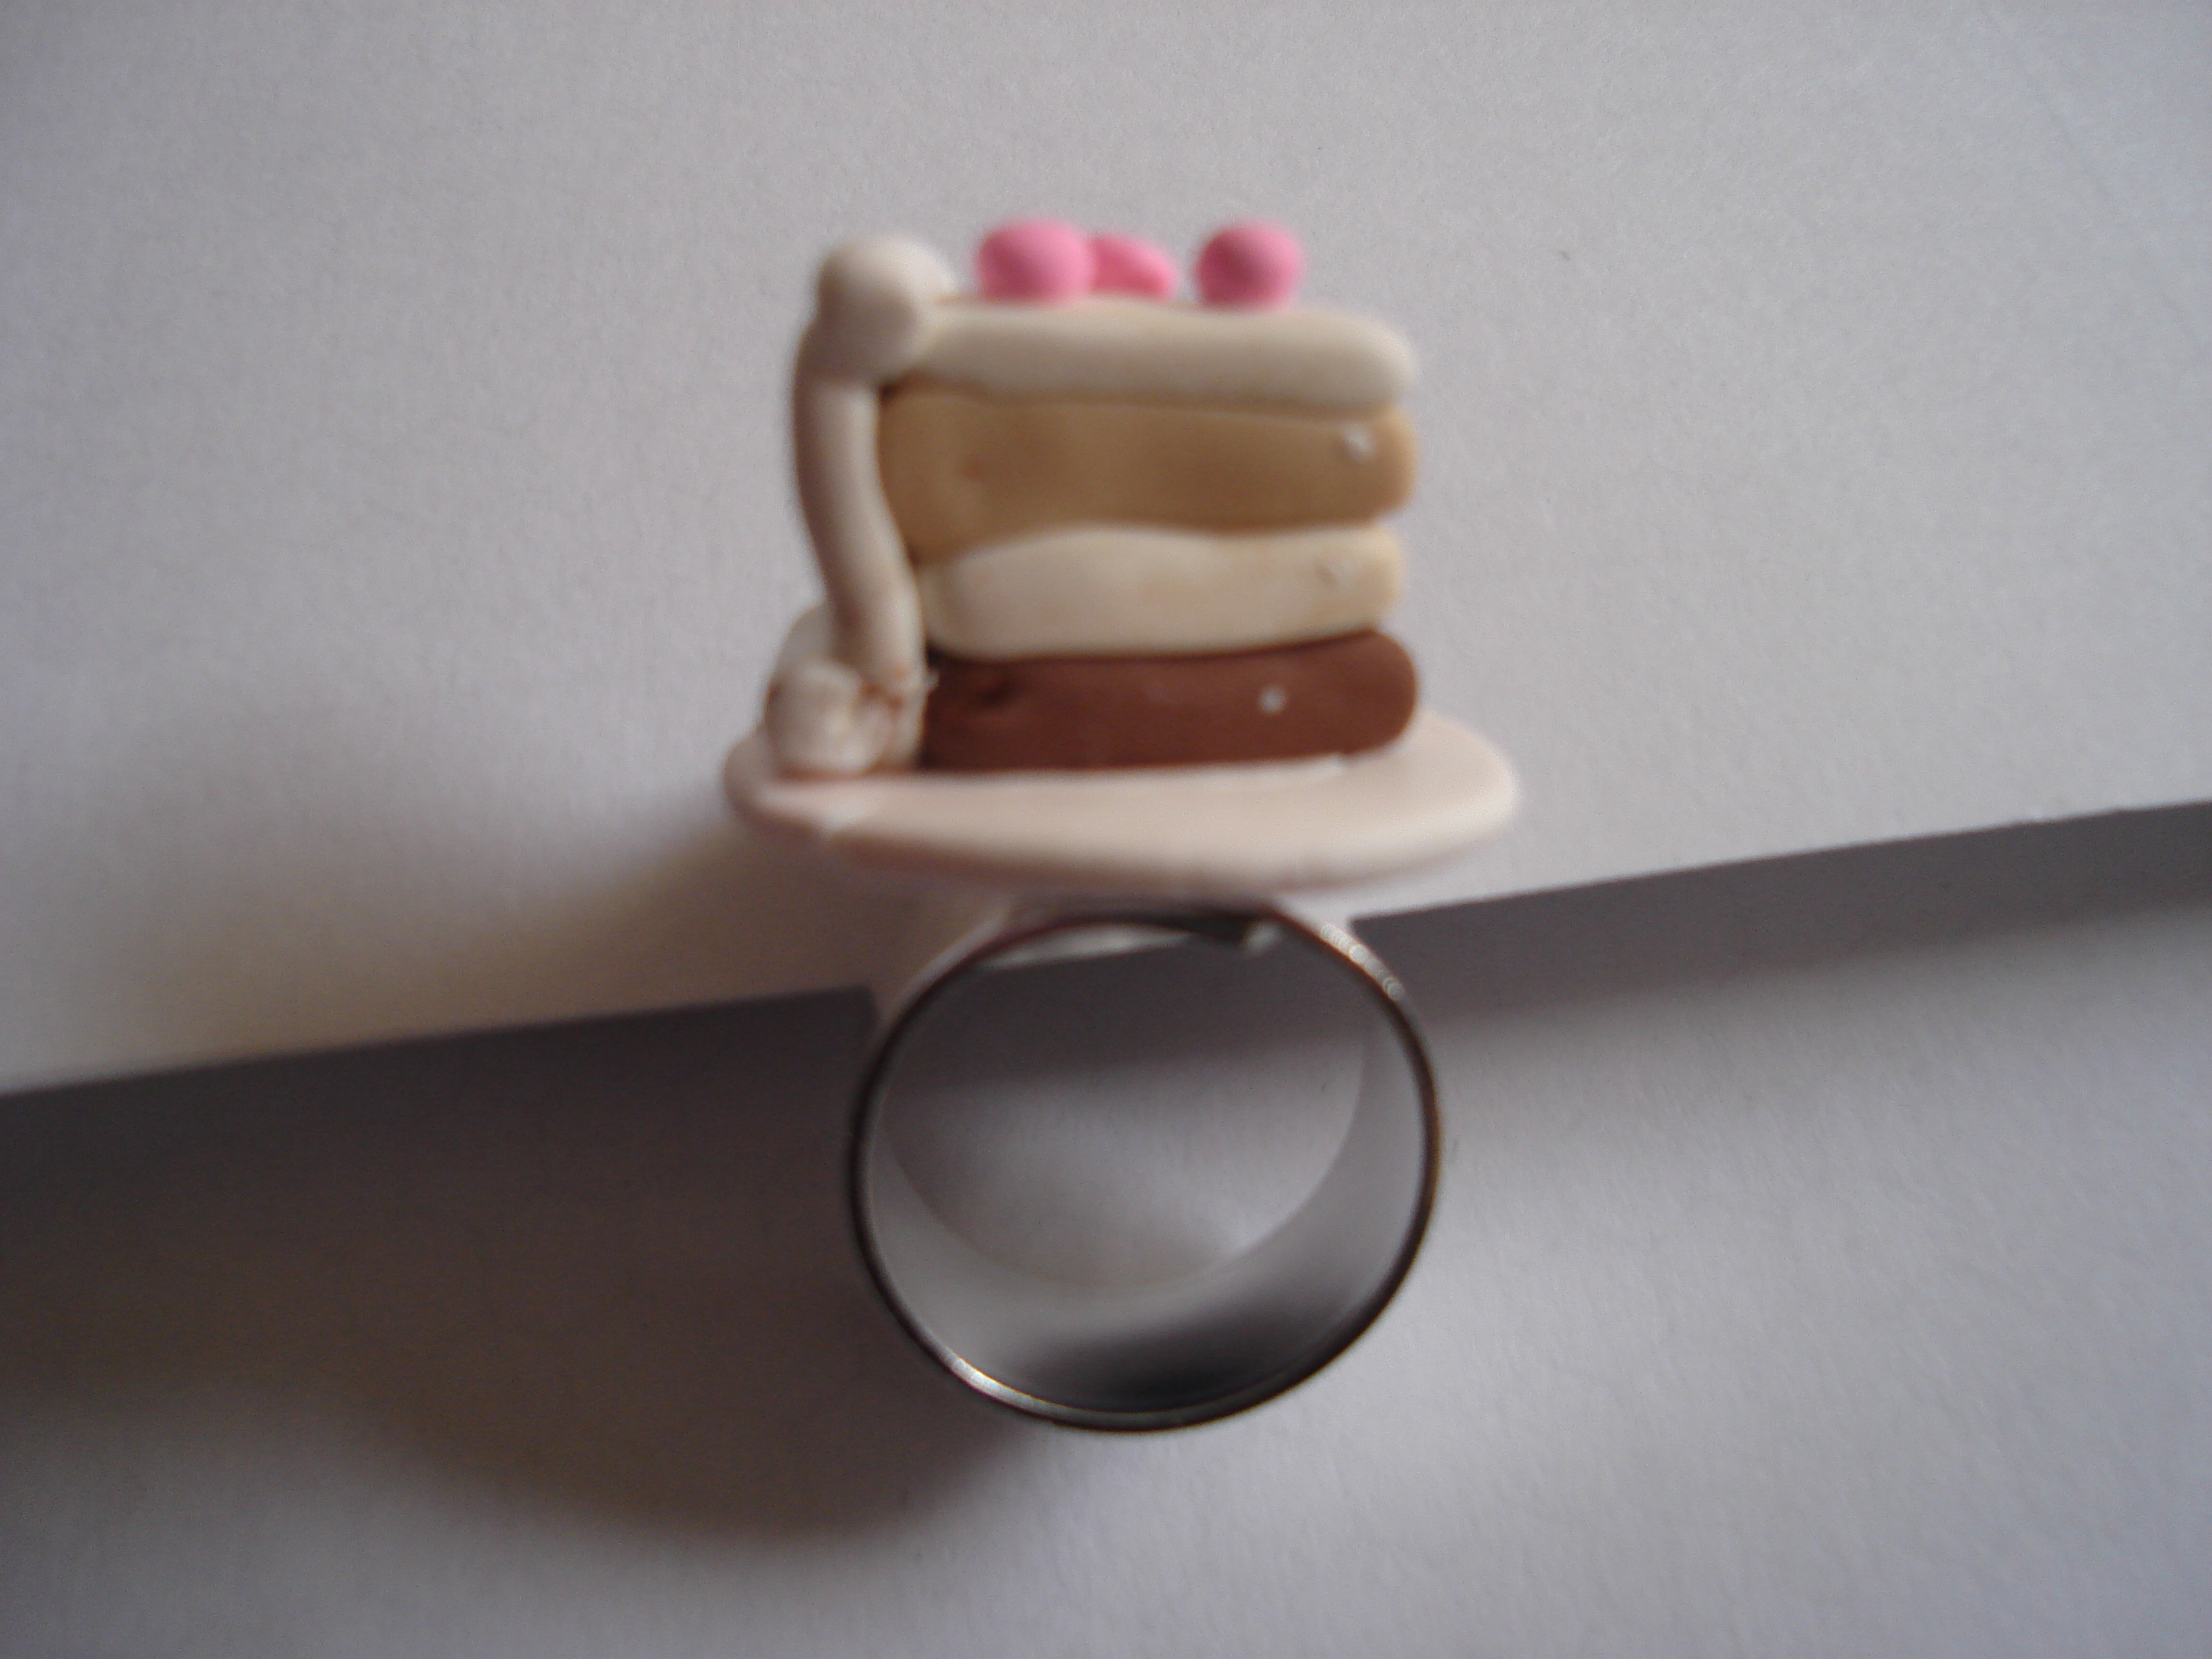
I participated in a Secret Santa exchange recently, in which my giftee requested sweets jewelry. Since my travel plans didn't allow for me to order something online, and they don't exactly sell sweets jewelry around here, I decided I would just make my own with polymer clay!

I was especially stoked because I'd recently bought a new crockpot for the express purpose of baking polymer clay things and hadn't actually used it yet. So yay! Sweets jewelry + christening of my polyclay crockpot = _>

First, we have a "Cake Slice Ring" (yeah... I'm a creative namer....):


A top view for the details:


And what it looks like on my (ugly) hand:


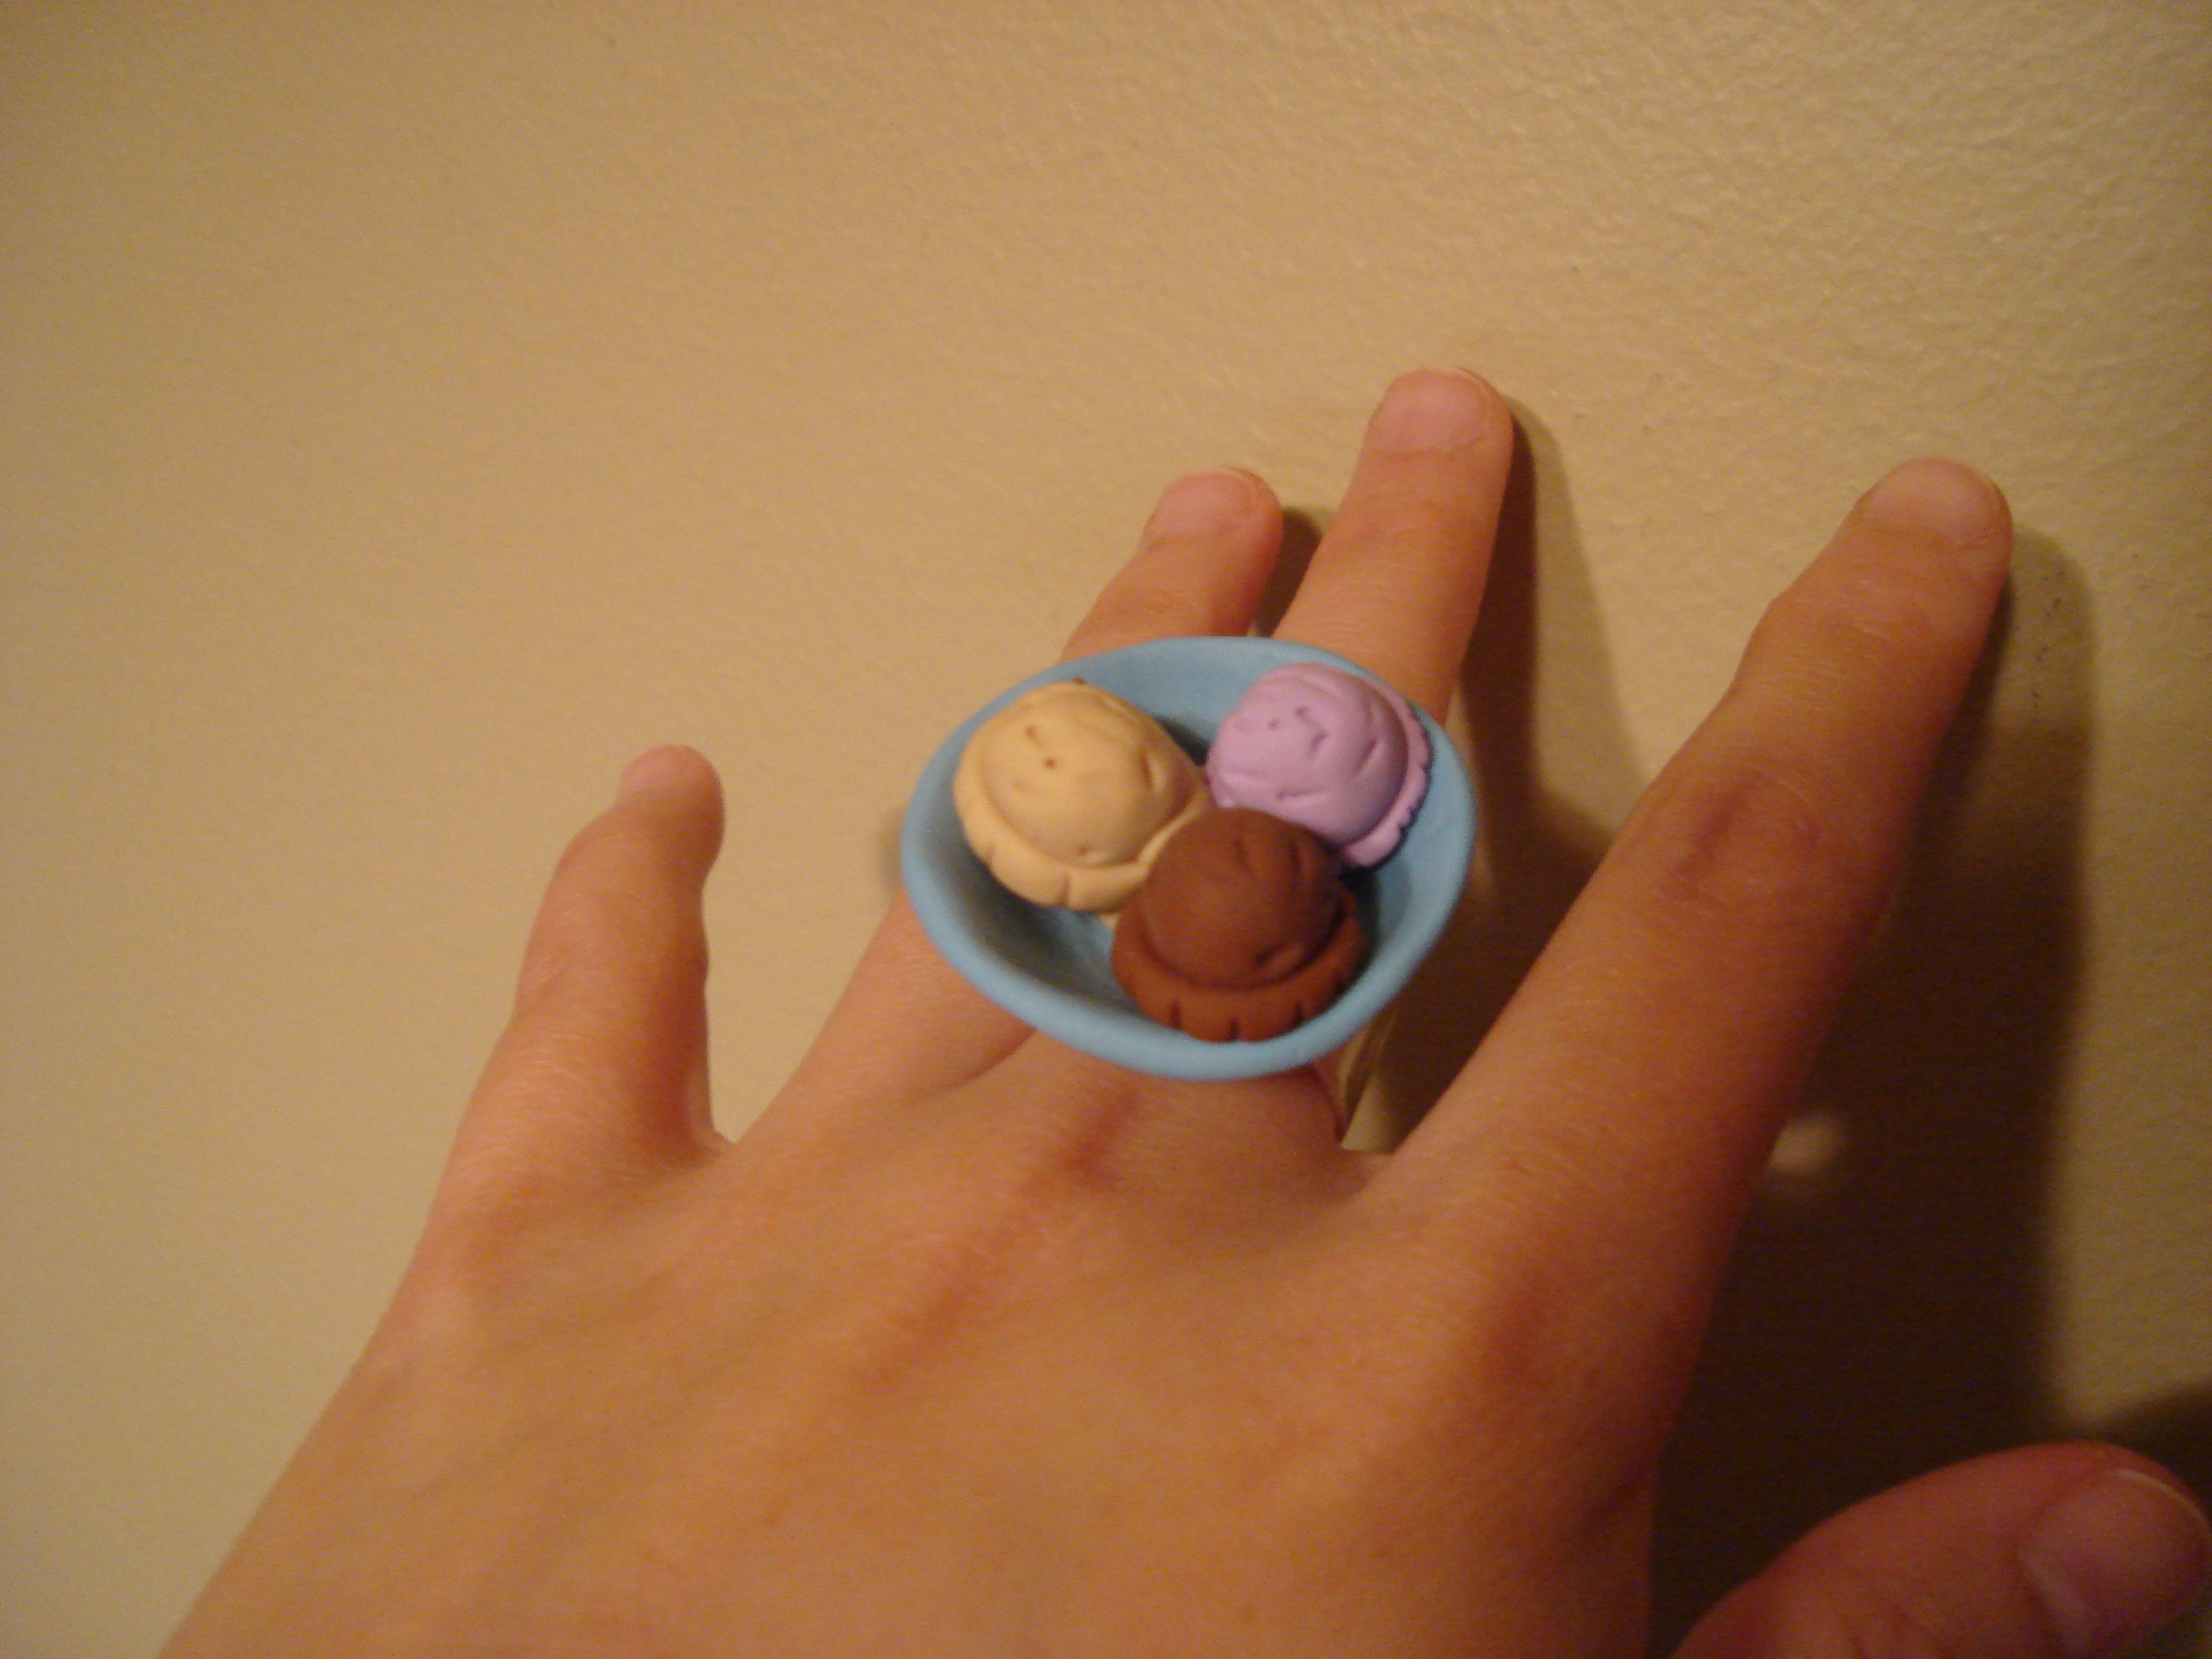
Next up, the "Triple Scoop Ice Cream Bowl Ring":


Top details:


Worn:


I sort of wish I'd had a glass marble of the right size available when I was making this one. I had to freehand the shape of the bowl, so it's not as perfect as my OCD self would have liked.

Thirdly, "Chocolate Cupcake Ring":


Top view... not very exciting for this one:


Worn (it was kind of tall for my taste, but definitely smaller than most cupcake rings I see for sale...):


And lastly, my "masterpiece". By which I mean a 2-piece set :-P

"Chocolate Ribbon Set":


Top view of the ring, just for the heck of it:


Back of the barrette:


The ring worn:


Phew, so many pictures!

Overall, I was quite pleased, despite how long it took me. And my little crockpot worked perfectly as a baking oven! Just pop it on the low setting, stick a thermometer in there to monitor the temperature, and it's ready to go in about an hour :-P Yeah... so it takes awhile to heat up, but then again, it takes me awhile to actually make anything, so it worked out well.

<3

Friday, July 11, 2008

Nice cup of tea

I'm back with another update of projects I made for a Craftster swap. The theme was tea time. I found some really cute tea time related charms at the crafts store and decided to make matching earrings and ribbon bookmarks.

The earrings were really simple, just a colored bead and then the charm. I ended up making five pairs:


I made the matching bookmarks from ribbon, and attached the charms and beads with wire. The ribbon I liked only came in the wired variety, so I had to pull those out before making the bookmark. I made four bookmarks (with a closeup of corresponding charm at end):


I also made a recipe book full of recipes involving tea. On every page I put a picture of a different interesting-looking teapot that I found online. There were ones shaped like turkeys, frogs, Conestoga wagons, ladybugs, and tons of other interesting shapes.

I also made a small tea wallet. It's basically a wallet with pockets the right size for teabags and sugar packets. There was even an elastic in the centerfold to hold stirrers!


And here's what the inside looked like! The orange rectangles were actually Post-It notes with labels for what flavor of tea was in the pocket, since I sent it with teabags already in the wallet.